Mt. Whitney in one day 2018/06/09
Why this post in this blog? - I am generally trying to keep this blog technically inclined. Researching information on one day mt. Whitney hike I was able to find bits of useful information here and there but no ‘end-to-end product’ so to say. This post is an attempt to decrease amount of googling you need to do. Plus doing this hike in one day wasn’t a cakewalk so quite naturally I need to brag a bit, please bear with me.
Disclaimer - use the information as well as anything you find on the Internet as a baseline. Mountaineering is an inherently dangerous activity. Be prepared, be cautious and be lucky. No book or Internet publication is able to provide you with a hands on experience.
Reasoning
Why mt. Whitney trail? - Well, because it’s there. Because it is the highest point of the contiguous United States.
Why try to do it in one day? Because it’s doable in one day. You don’t have to plan a vacation if you live in California - Friday or Monday day off suffices. You have a higher chance to win a one-day permit than an overnight permit. Because it is a great test of your endurance and mental strength. If you have more time I do recommend to spend more time in the area to acclimatize properly and be able to enjoy the scenic nature of Inyo area and Yosemite national park.
This post is about summer season, I know little about off season mt. Whitney conditions.
Useful resources on the Internet
whitneyzone.com forum is a great starting point. The forum contains tons of useful information, including summit reports and current trail conditions.
First things first you need to start preparing early, by 15th of March if you want to get a permit for the summer season. Nice table with options, permit types and useful links can be found here
Second thing on the Internet you should pay lot attention to is the forecast: something you should definitely be following for at least two weeks before a summit attempt. Remember though - the weather can change very quickly, mt. Whitney is famous for afternoon thunderstorms.
I think the best place to pick up the permit is Eastern Sierra InterAgency Visitor Center located at the Junction of Highway 395 and State Route 136, 2 miles south of Lone Pine, CA. Open 0800 - 1700 Daily (last permit issued 1645).
Note The final step for your reservation is to check in and pick up your permit before starting on the trail. Reservation will be canceled as a no-show if you do not confirm or pick up the permit before 10 am on the entry date.
Check this link for more information and instructions.
Leave no trace but leave some clues damn it
Remember - if there is no one knows if and where you go no one is going to search for you when you do not return. You should have an emergency contact, a person who does not climb with you, who has exact information about you and your plans and who is instructed to contact emergency services in case there is no notice from you by the certain time.
Make sure your emergency contact has the following information:
- Your name/Surname, age, weight, height, eye color.
- Specific conditions like diabetes/allergies if any.
- Your recent photo, better with the gear you’ll have with you on the trail.
- Photo of your gear.
- Car make, year, license plate number.
- Planned route, planned departure time, planned return time.
- Escalation procedure - eg. if no call by 0900 day after planned return day contact X. If no information by 1200 on the day after planned return day call emergency services in the area and so on.
Emergency services contact information
Inyo sheriff office
Emergency services
760-878-0395
760-878-0235

Inyo SAR (search and rescue)
760-878-0383
[email protected]
Equipment
Rule of a thumb - choose equipment colors that would made you happy if you were three years old again. If something bad happens it is going to be easier for a SAR search party to find you.
Summer summit temperatures around the water freezing point + chilling wind = no cotton.
- Helmet - shields your head and provides a solid platform for headlamp attachment. Size should allow to wear it on top of a beanie or a baseball cap.
- Polartec beanie - warm, keep warmth when moist and dries quickly.
- Baseball cap - I like a cap from Outdor Research with shade attached. You do look a bit dorky but it’s better to look dorky than to be sunburnt.
- Water tight hard shell/windbreaker. You may swap for a soft shell if you feel so.
- Fleece layers - two (jerseys? eh?) don’t know how to call them properly, anyhow - fleece pieces that make you warm. Two for the fine tuning.
- Long sleeve base layer.
- Water tight pants - for glissading, I use my snowboarding pants.
- Gaiters - prevent snow from getting into your boots and, even more importantly, do not allow crampons to catch on your pants and tear them. Last time on Shasta I didn’t have gaiters and tore a substantial hole in my pants. Not cool.
- Track pants - quick drying everyday hiking pants - you may need to change after glissading.
- Mountaineering boots with good ankle support, preferable with GoreTex or similar membrane - there are several streams to cross, you don’t want to lose time there or/and wet your feet. Should be well broken in before you take mt. Whitney trail.
- Good socks. I mean it.
- Crampons - ‘trail crampons’ or ‘microspikes’ suffice for mt. Whitney trail - there is nothing too technical. Plus it is easy to put them on and take off. This is very convenient in the thin air where sometimes you feel like even opening a pocket is too much of a hustle.
- Ice axe - must have for ascending and glissading down the snowy slope. It is an extremely dangerous idea to use flimsy walking poles for this purpose. Also you look 20% cooler with an ice axe. Make sure you are trained to self-arrest before you start glissading.
- Walking poles - use them and save your knees for another trip.
Miscellaneous
- Sunscreen - sunbathing is dumb. Sunbathing at 14000 feet is twice as dumb - your favorite skin cancer research foundation. Sun glasses - pick good ones, with UV protection, comfortable with the helmet/beanie/baseball hat. This is important, you are going to wear them for the whole day.
- Headlamp
- Backup headlamp
- Backup backup headlamp - you don’t want to abort the mission due to a failed light and just sit on your legs waiting for the sunrise to retreat - am I right? Better if your headlamps share same type of the battery. Make sure the headlamp has SOS mode - I saw at least one SAR report describing a guy colliding with other hiker while glissading down the Chute and being helped by the people from Trail camp when they saw his SOS blinker.
- Water filter - there are streams at least during an early spring/summer season and you may not need to carry more than 2 liters of water if you have a filter. Note though - filtering takes time, I decided to carry 3 liters of water with me to avoid prolonged stops.
- GPS unit - not needed, really, I didn’t have any problems finding the trail even at night. ’Up’ is to the summit, ‘down’ is to the parking. You do want to have a printed map just in case. Check blog post for a detailed map from National Geografic.
- Cellphone - to take photos, if you’re lucky enough you will get signal on the summit.
- Camera - if you feel so, I believe cellphone works just fine.
- Trauma/med kit - compressed gauze, Israeli bandage, tourniquet, rollable SAM splint, band-aids, antibiotic ointment for scratches, Acetamphenomen/Aspirine for fever, and so on. Obviously - if you have no idea how to use an item from the kit it will be of no use to you. Learn or discard.
Food
Normally you need about 2200 Kcal a day. In order to fuel 20 hour hike you’ll need another 4600 Kcal. Try not to stick to same-tasting food and be as creative and diverse here as possible. I’m not sure if it’s just me but by the second half of the day I was pretty tired of peanut butter, sweet trail mix, sweet protein bars and sweet energy gels. The only non-sweet thing I was going to have was a pack of sliced salami and I forgot it in the fridge at home. Lesson learned: make sure you have on you all you plan to have on the trail. It’s a good idea to add BCAA to your water for an additional energy, check if there are any filters in your hydration system as BCAA powder may clog them.
Off we go
Took a day off on Friday 8th of June. Left San Francisco at about 0700 heading to Lone Pine via Yosemite, highway 120. Note it’s a toll road, don’t forget your ‘America the beautiful’ interagency pass. Drive time from SF to Lone Pine is about seven and a half hours.
At around 1500 was by Eastern Sierra InterAgency Visitor Center in Lone Pine. The permit pickup process is quite straight forward - you show your ID and get a permit, a permit tag you should attach to the backpack and a poop bag. Ranger then briefly explains how to poop into a said bag and warns against leaving anything edible and edible smelling (toothpaste/air fresheners/suscreen) in your car. Bears are active and will vandalize your car if tempted. I left toothpaste and backup sunscreen tubes in the hostel in Lone Pine. My ranger was a cute blond girl which I took as an extremely good sign.
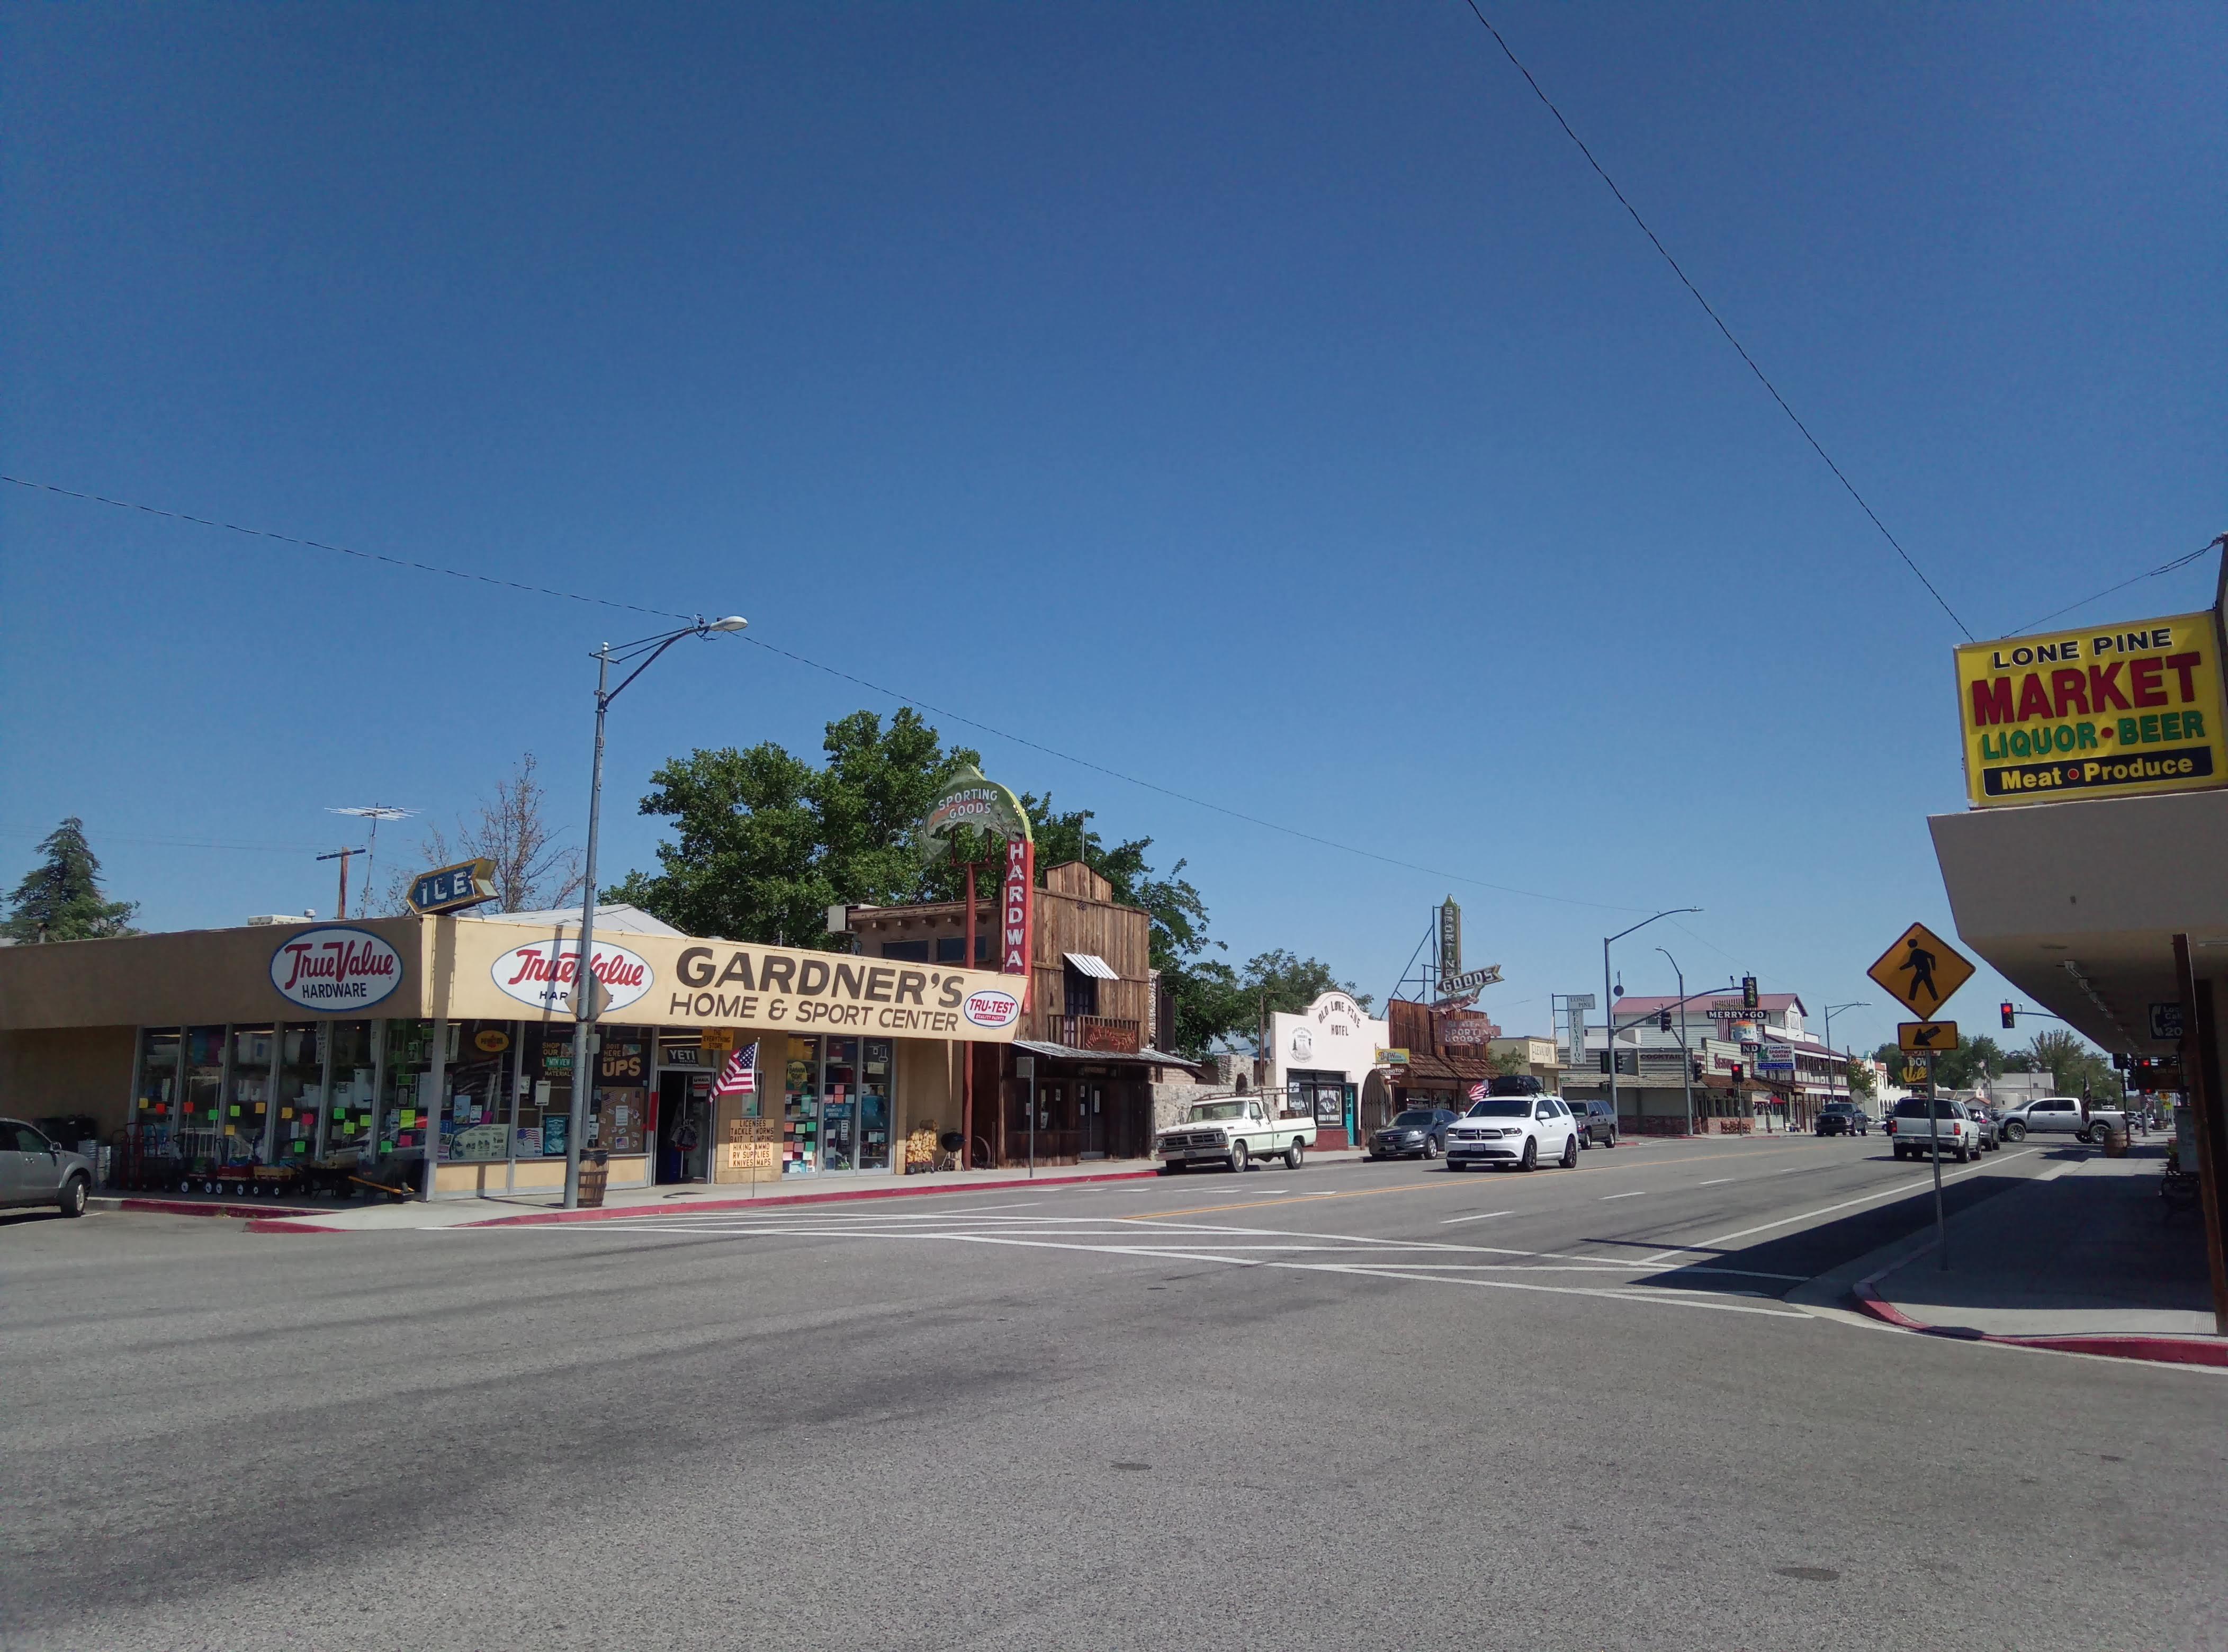
Lone Pine
After getting the permit I’ve returned to Lone Pine and checked into Whitney Portal hostel - very well may be the best place to spend the night before the hike. Most people staying there are thru hikers walking Pacific Crest Trail. It was my first hostel experience and first submerging into hiker trash subculture. Simply put it was amazing. Who knows maybe someday I will manage to shed everything earth binding and will be off pink blazing somewhere on AT? Ah, dreams, dreams… Great blog on thru hiking culture. My deepest <3 ! Needless to say if you want a cosy place with no people snoring in the same room you should check different options - there are quite a few hotels in Lone Pine.
I dined and went to bed trying to get as much sleep before 0030 on 9th of June as possible. Trust me, it is very hard to sleep well with mount Whitney before you so if you feel you are not able to sleep it makes sense to leave earlier, to have more of a time cushion at least. It is about 20 minutes drive from hostel to the trailhead parking. The restroom/trash are by the trailhead as well.
Whole hike took ~19 hours for me. I’m not an athlete by any means but I think I’m quite fit as for an office plankton. You want to set times for each of checkpoints and set it hard that if you fail to get to a checkpoint by a certain time you return. You should anchor on Trail crest time - you want get there by 0900 while the snow is still firm. You want to glissade down from Trail crest before 1600 while the snow is still soft and it is easy to self-arrest on the slope. This is why I decided to start at 0100 - pretty early.
My time on the trail
0100 starting from the trail head
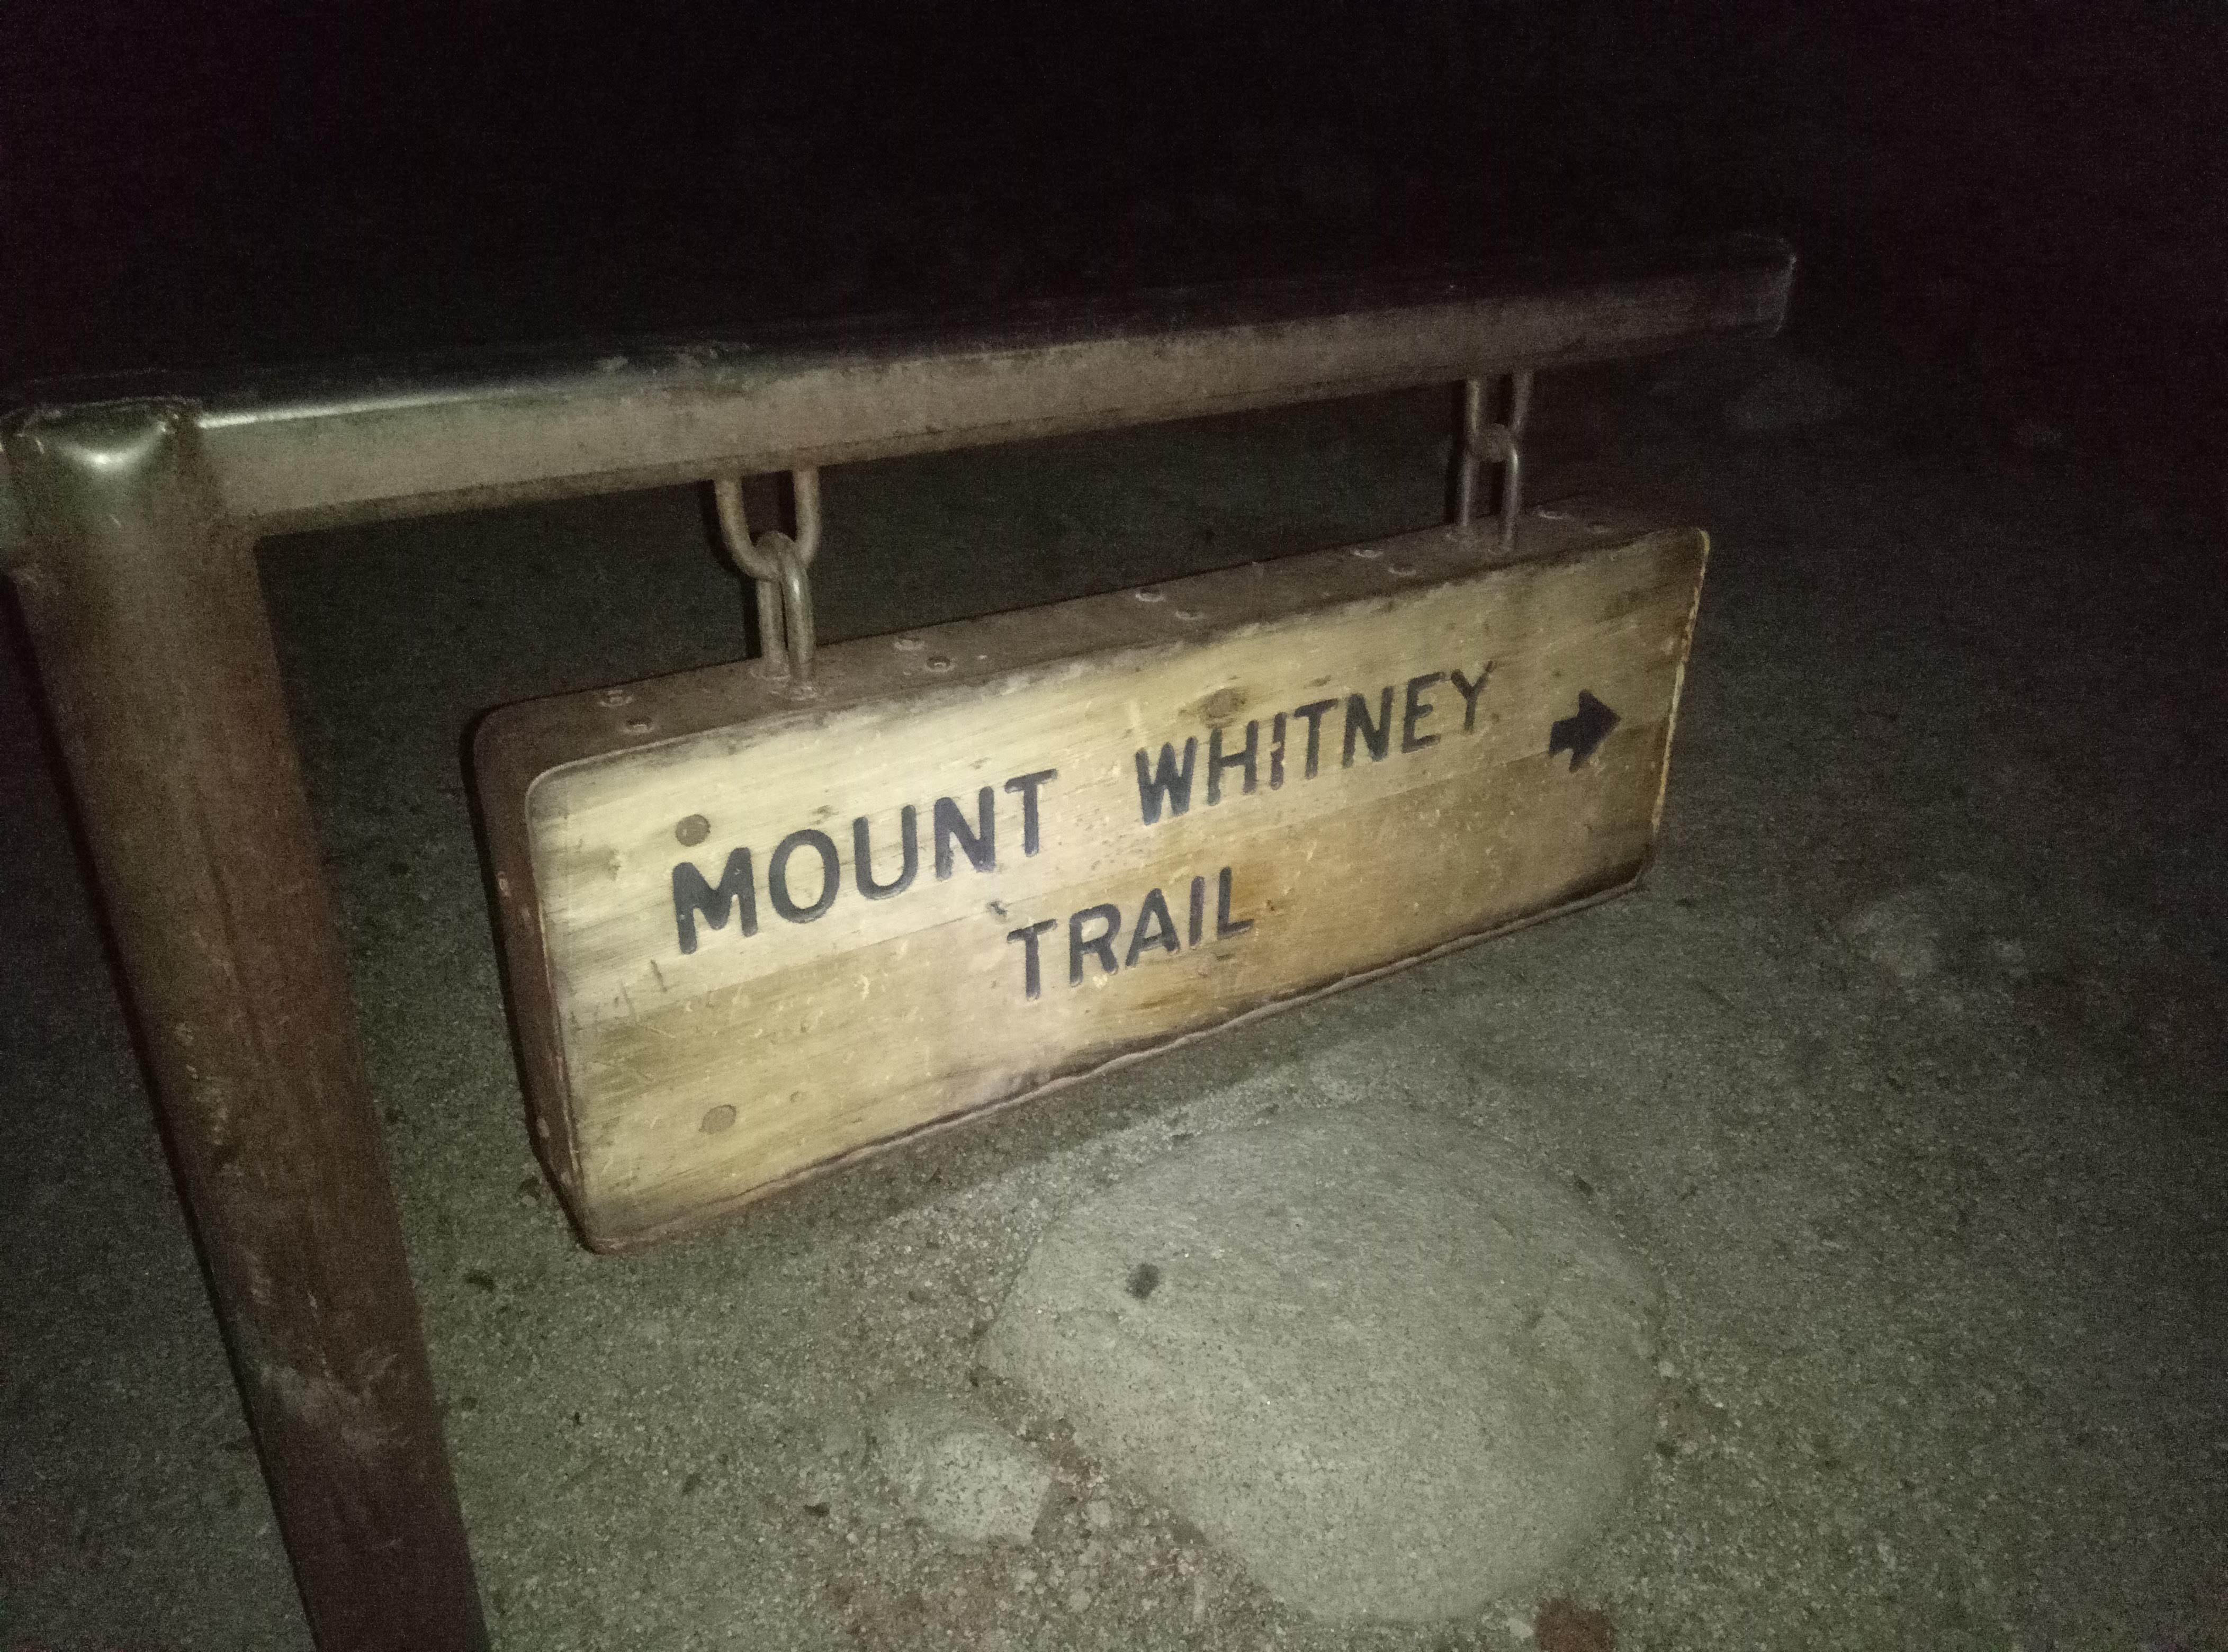
Traihead sign
0230 ‘Entering Whitney zone’ sign
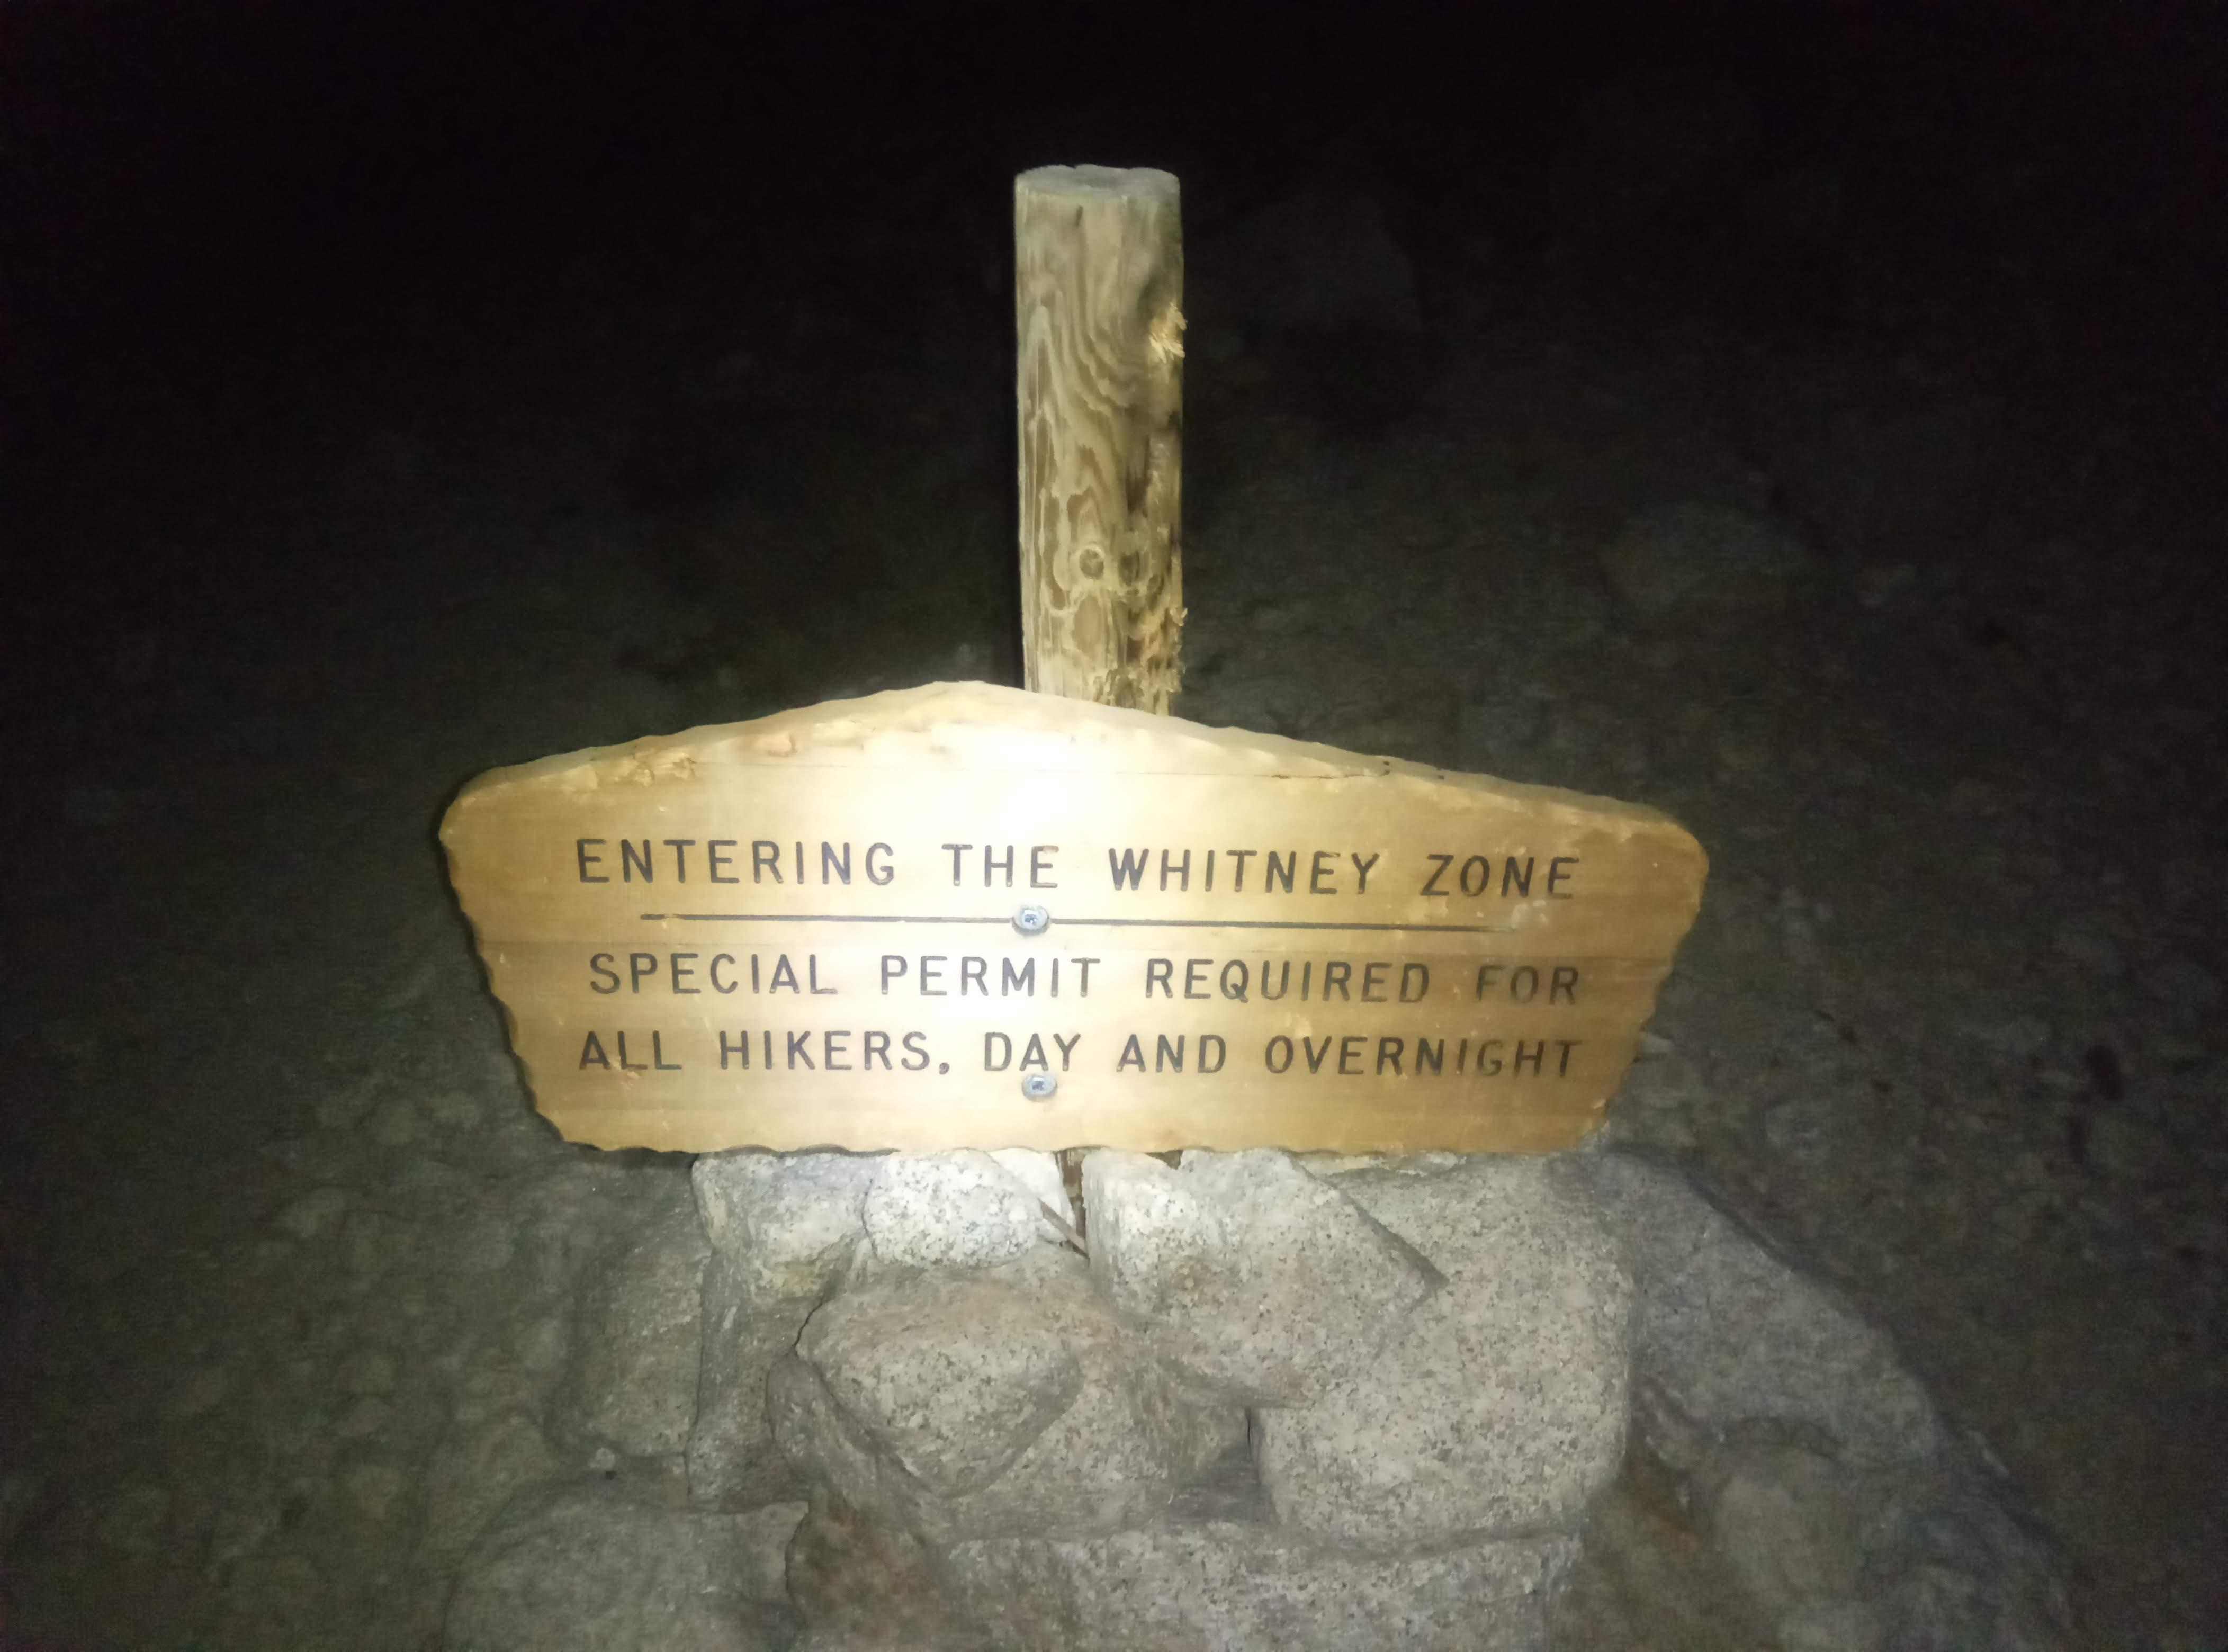
Whitney zone
0254 Outpost Camp
0352 Trail side meadow
0505 Trail Camp
Sunrise yay! I can see something but rocks!
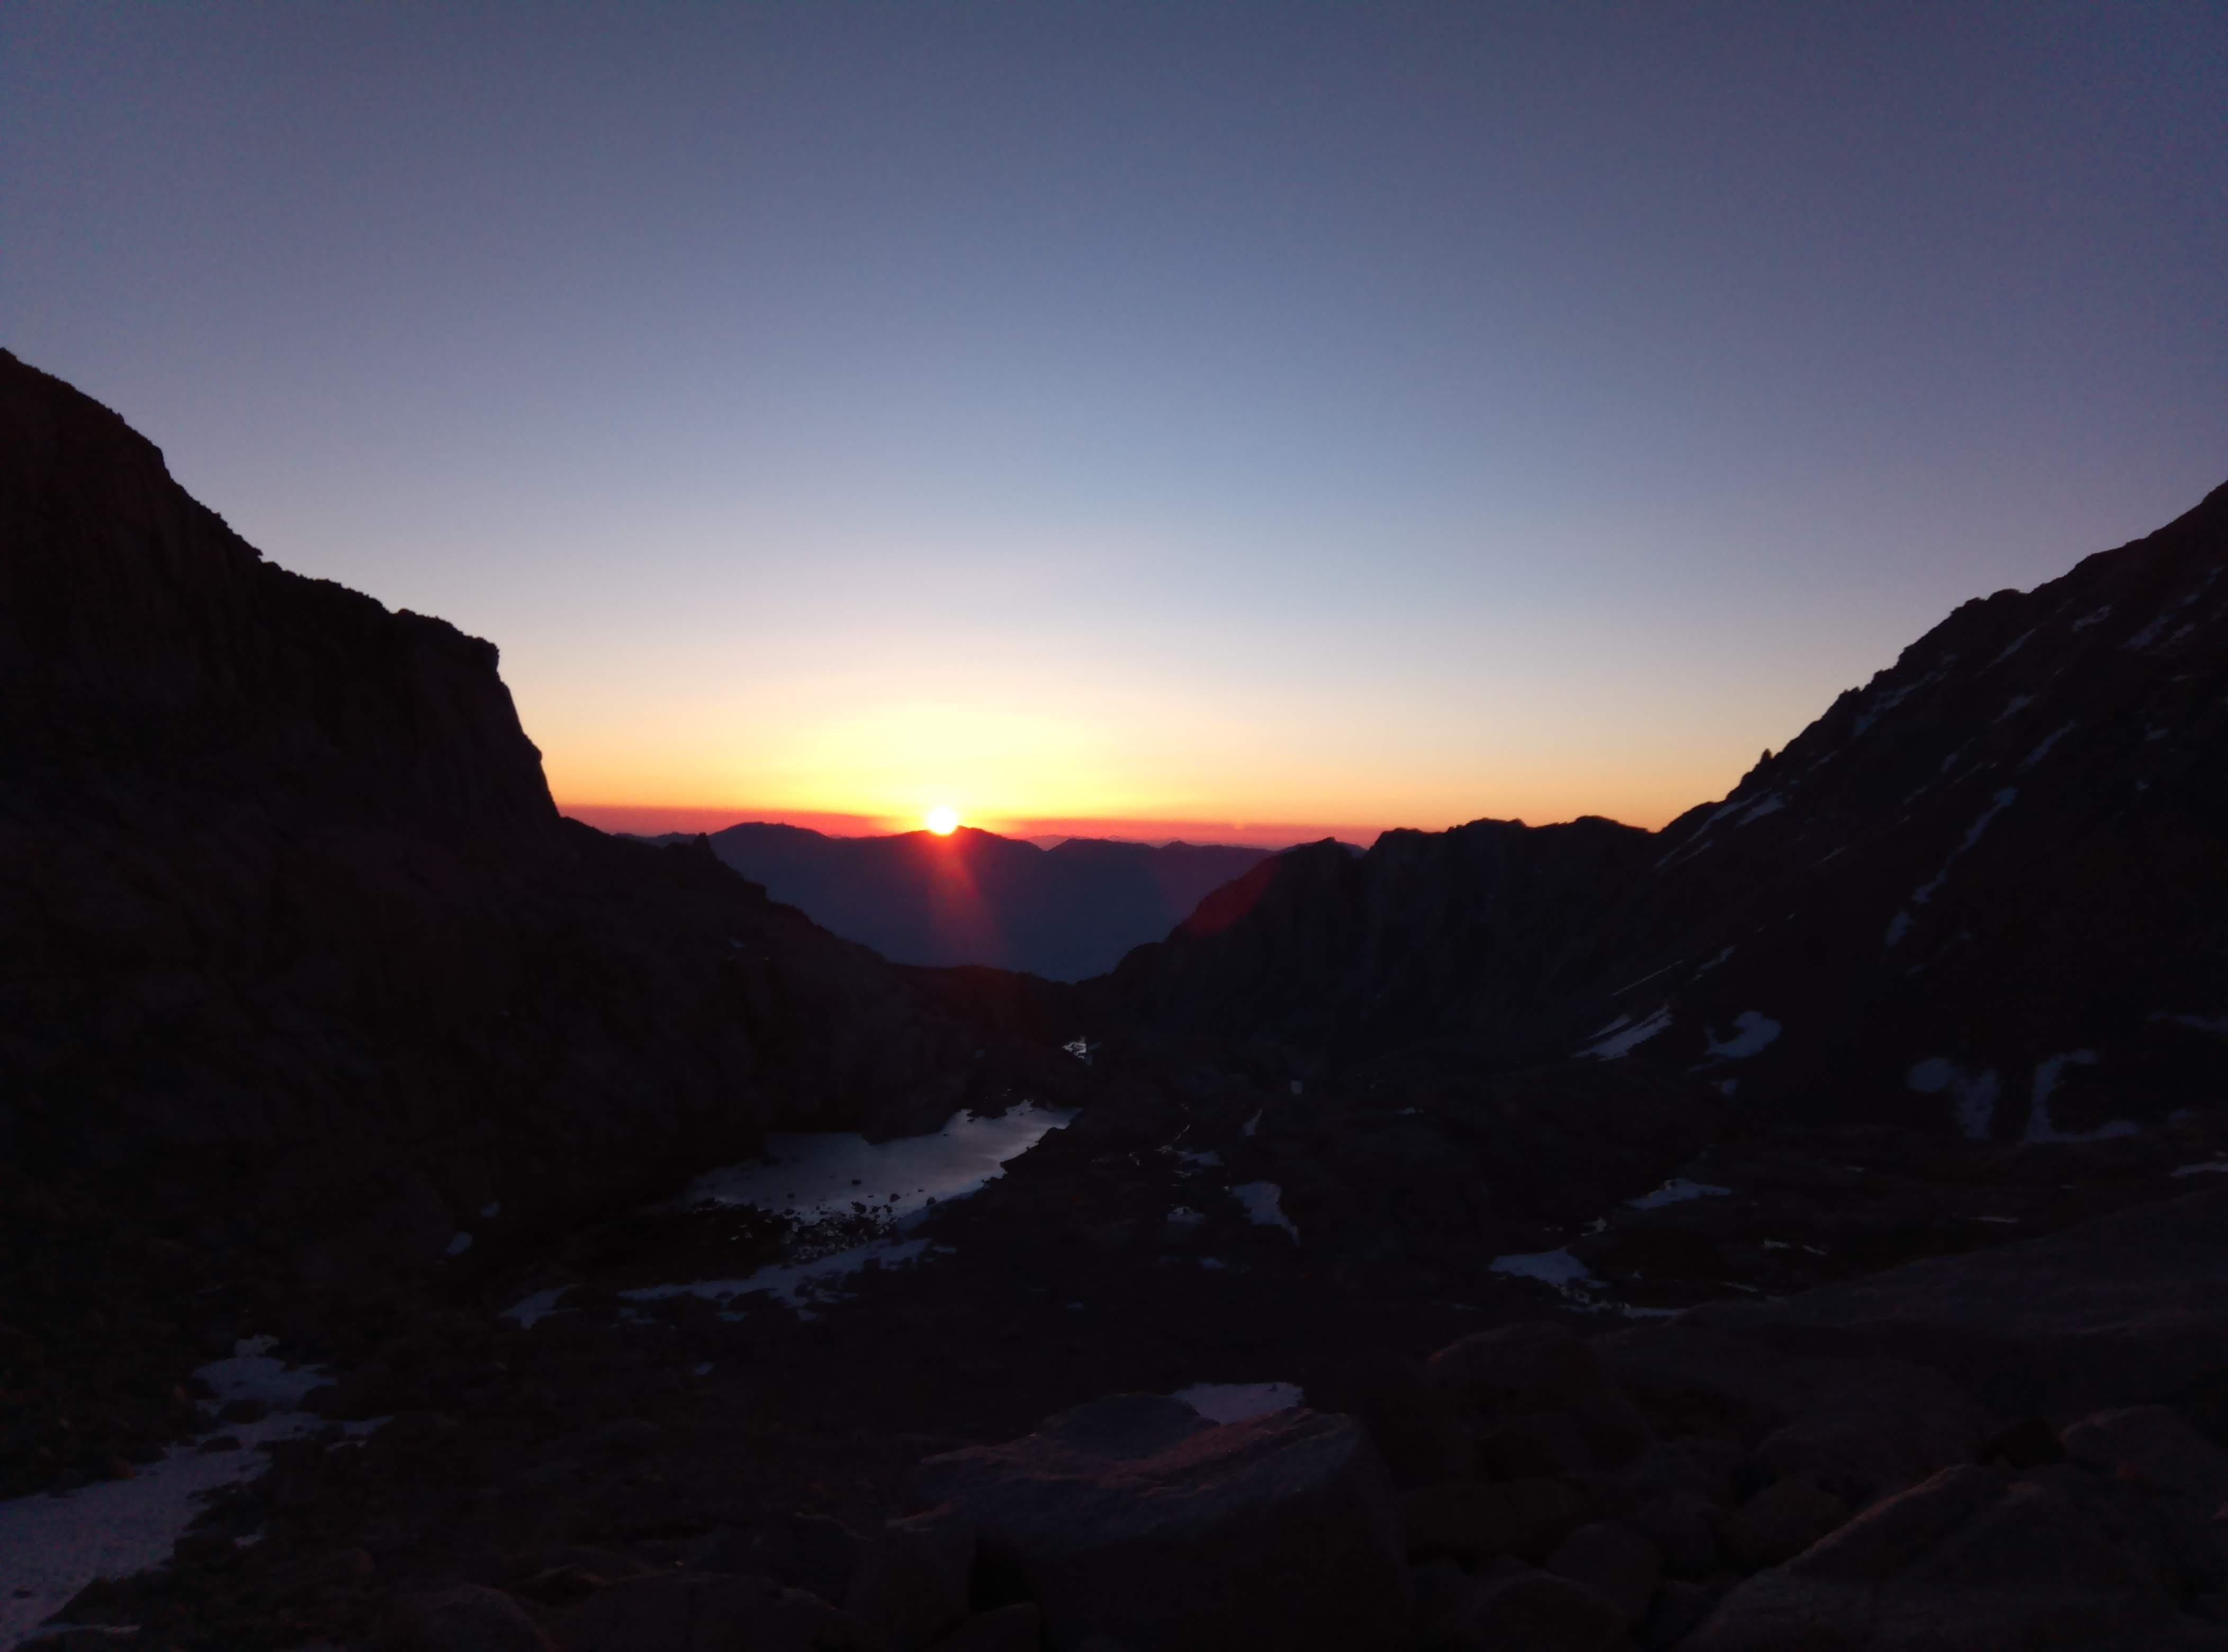
Sunrise
Snow is right above the Trail Camp. This is where I put the crampons on.
Trail Camp
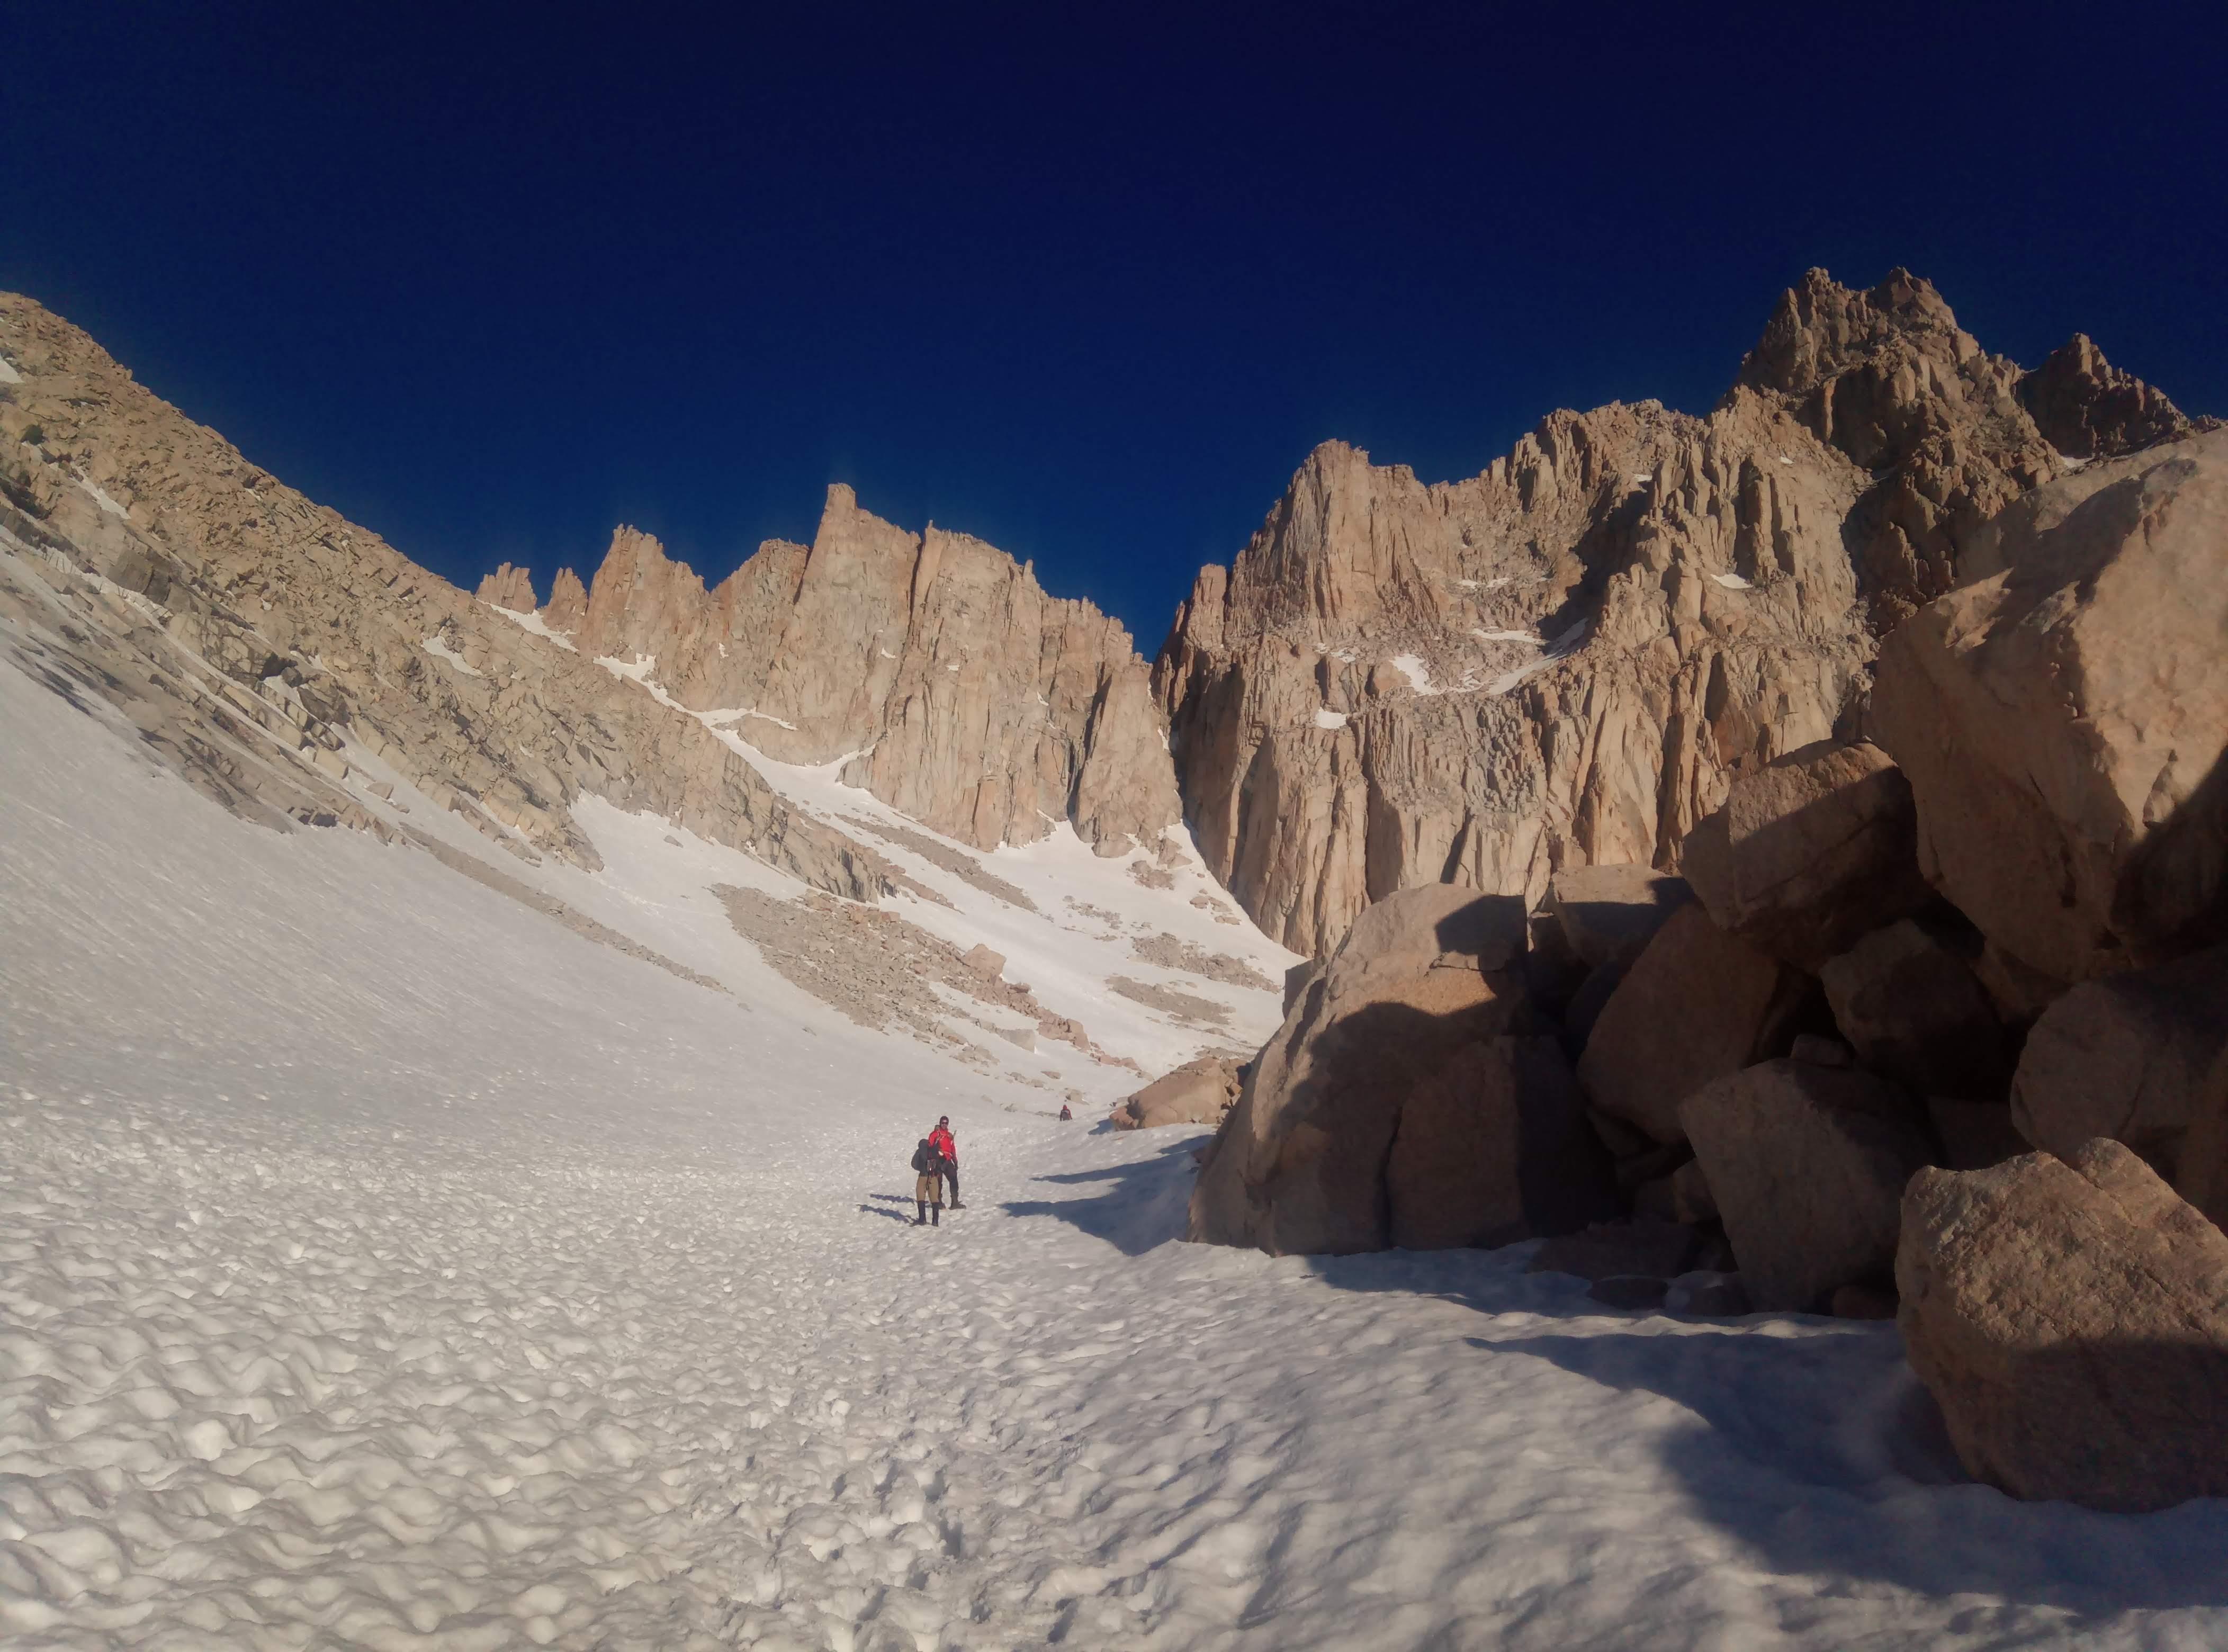
The view toward the Trail Camp from the base of Chute.
Start of Chute
0600 Chute
Usually until July upper switchbacks are covered with snow so you have to walk up the couloir instead of taking switchbacks. This is where you need your crampons on and where the real fun begins. I strongly recommend to put your helmet on at this point if you didn’t yet - at least three fist sized rocks rolled by while I was walking the Chute. If you see a rock rolling make other people aware - they may not be paying attention at all and may be too exhausted to react in timely manner. Another reason - yelling ‘Rock!!!’ is plain fun. Be cautious of a snow situation and don’t yell yourself an avalanche though. You really want to get to the Trail Crest before 0900 because snow starts to melt, you start to sink and lose lot of energy. You gain about 450 meters ~1500 feet here.
Chute
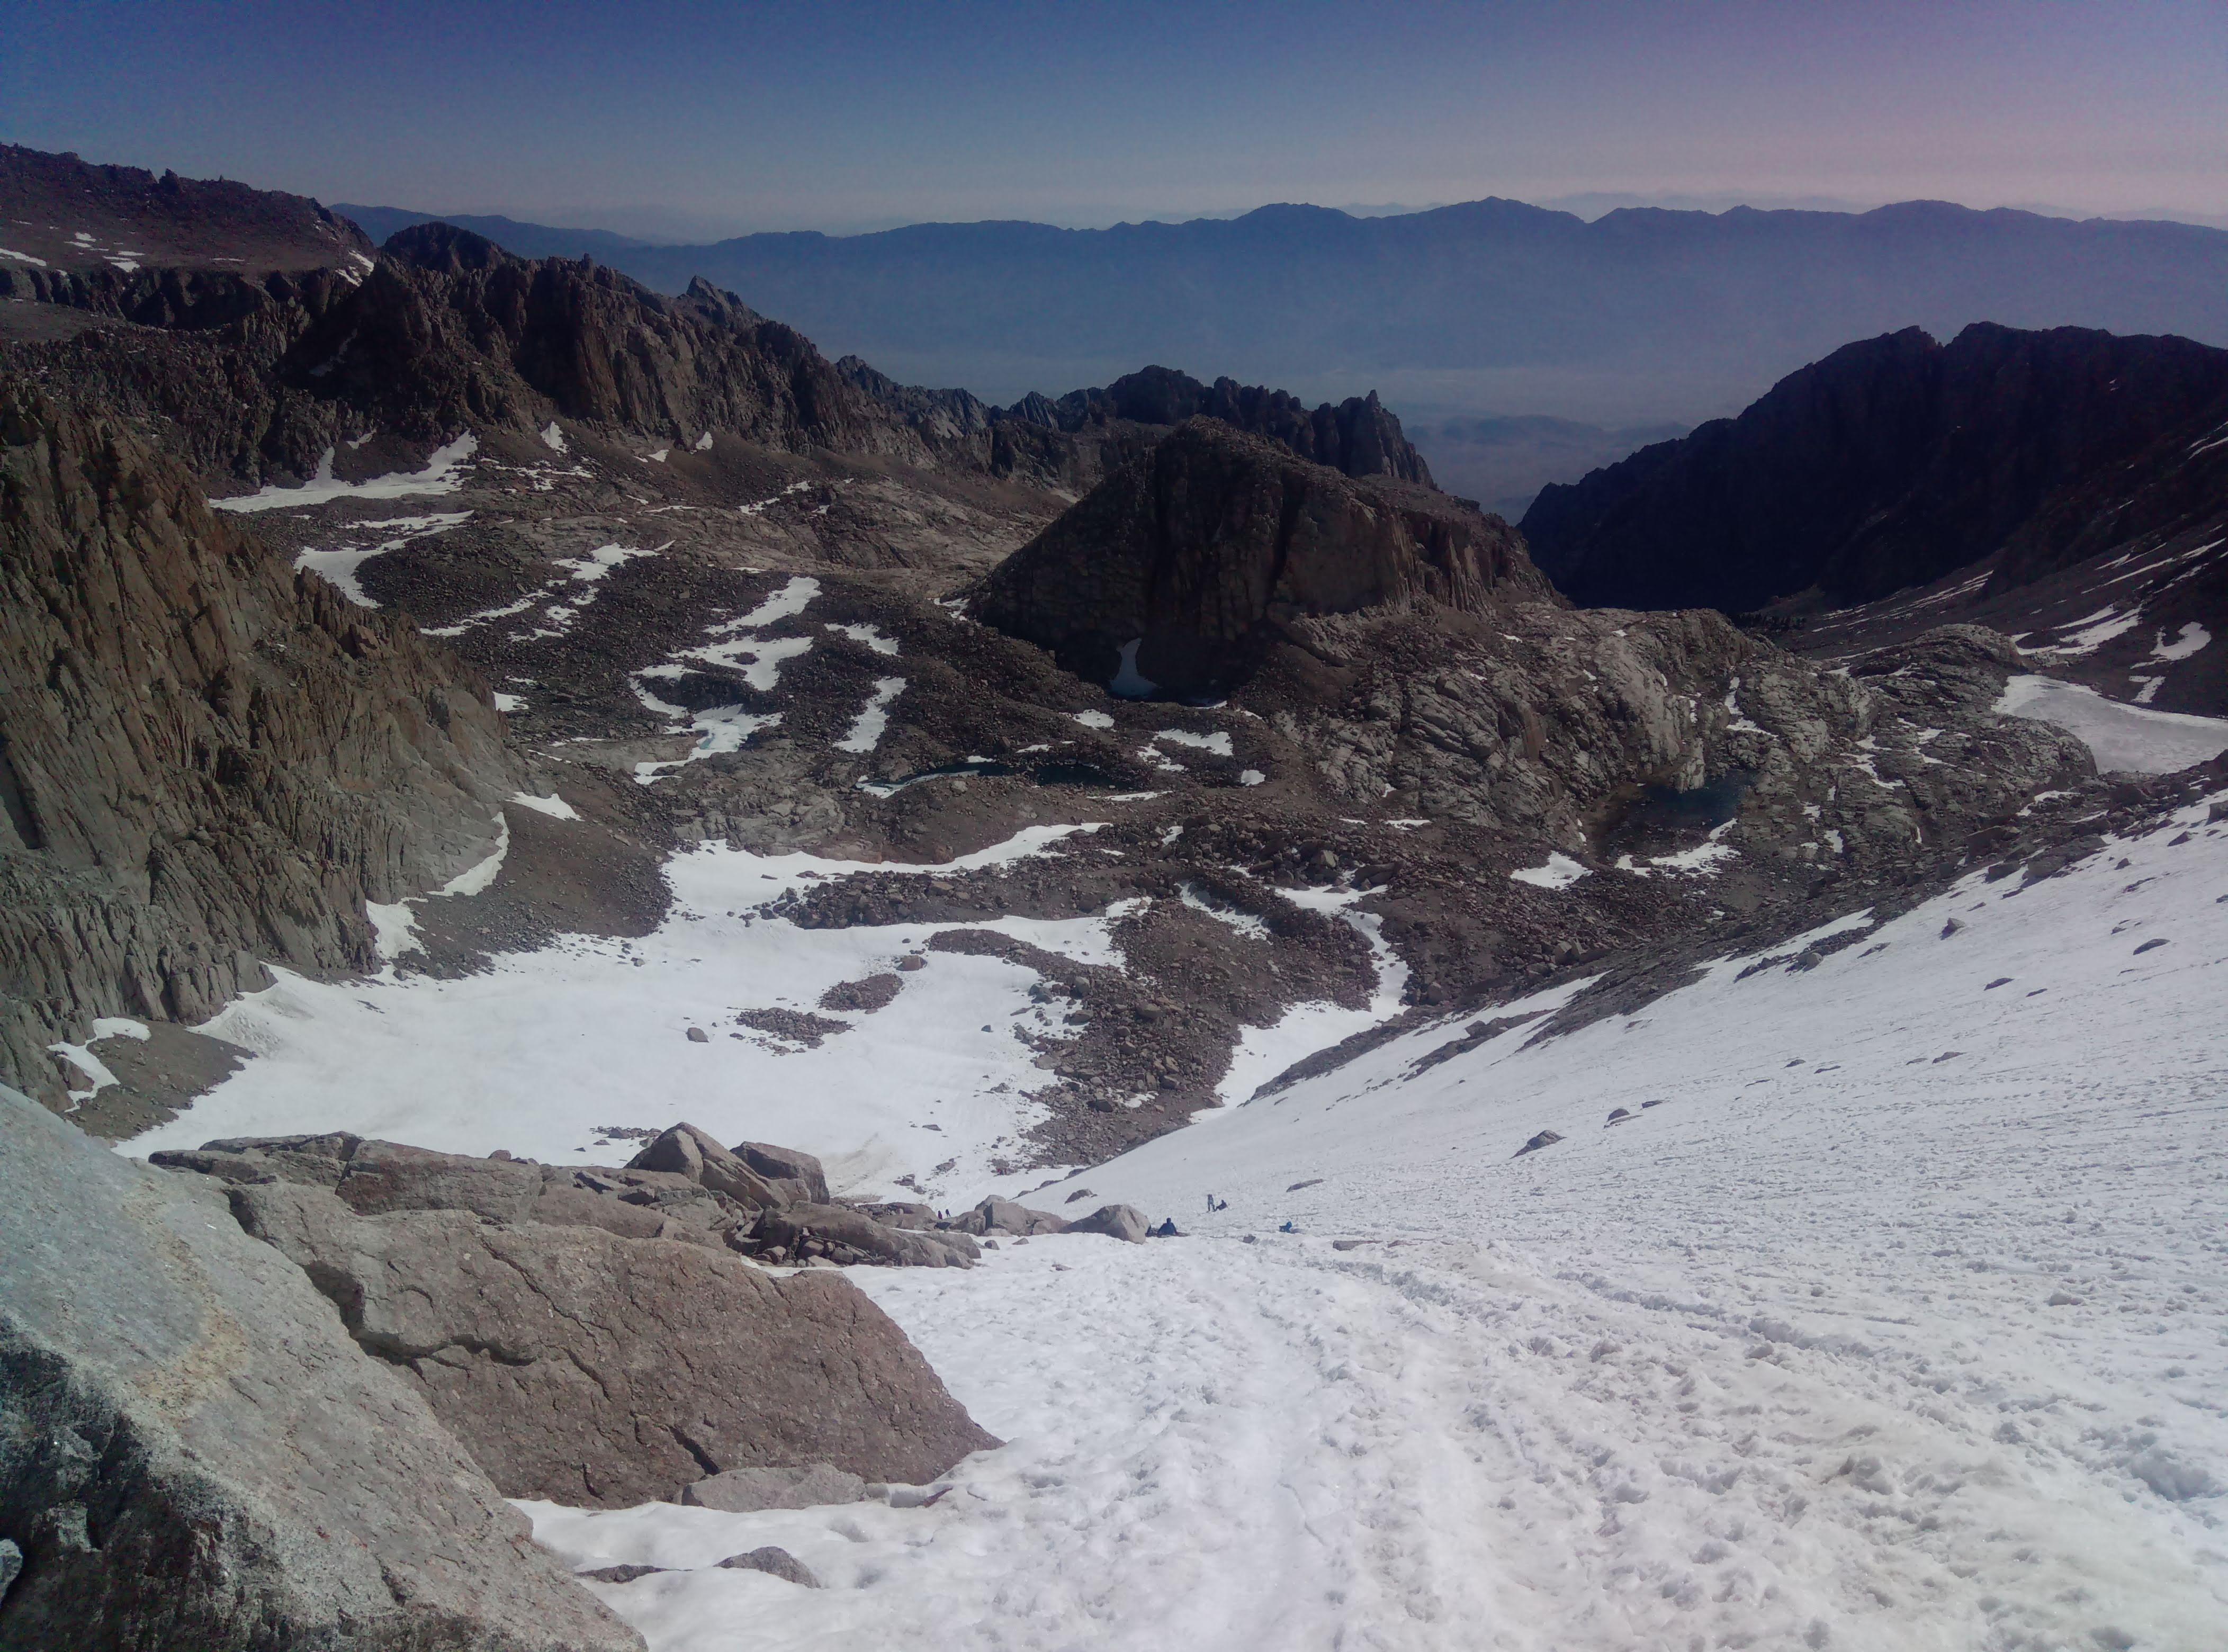
0915 Trail Crest
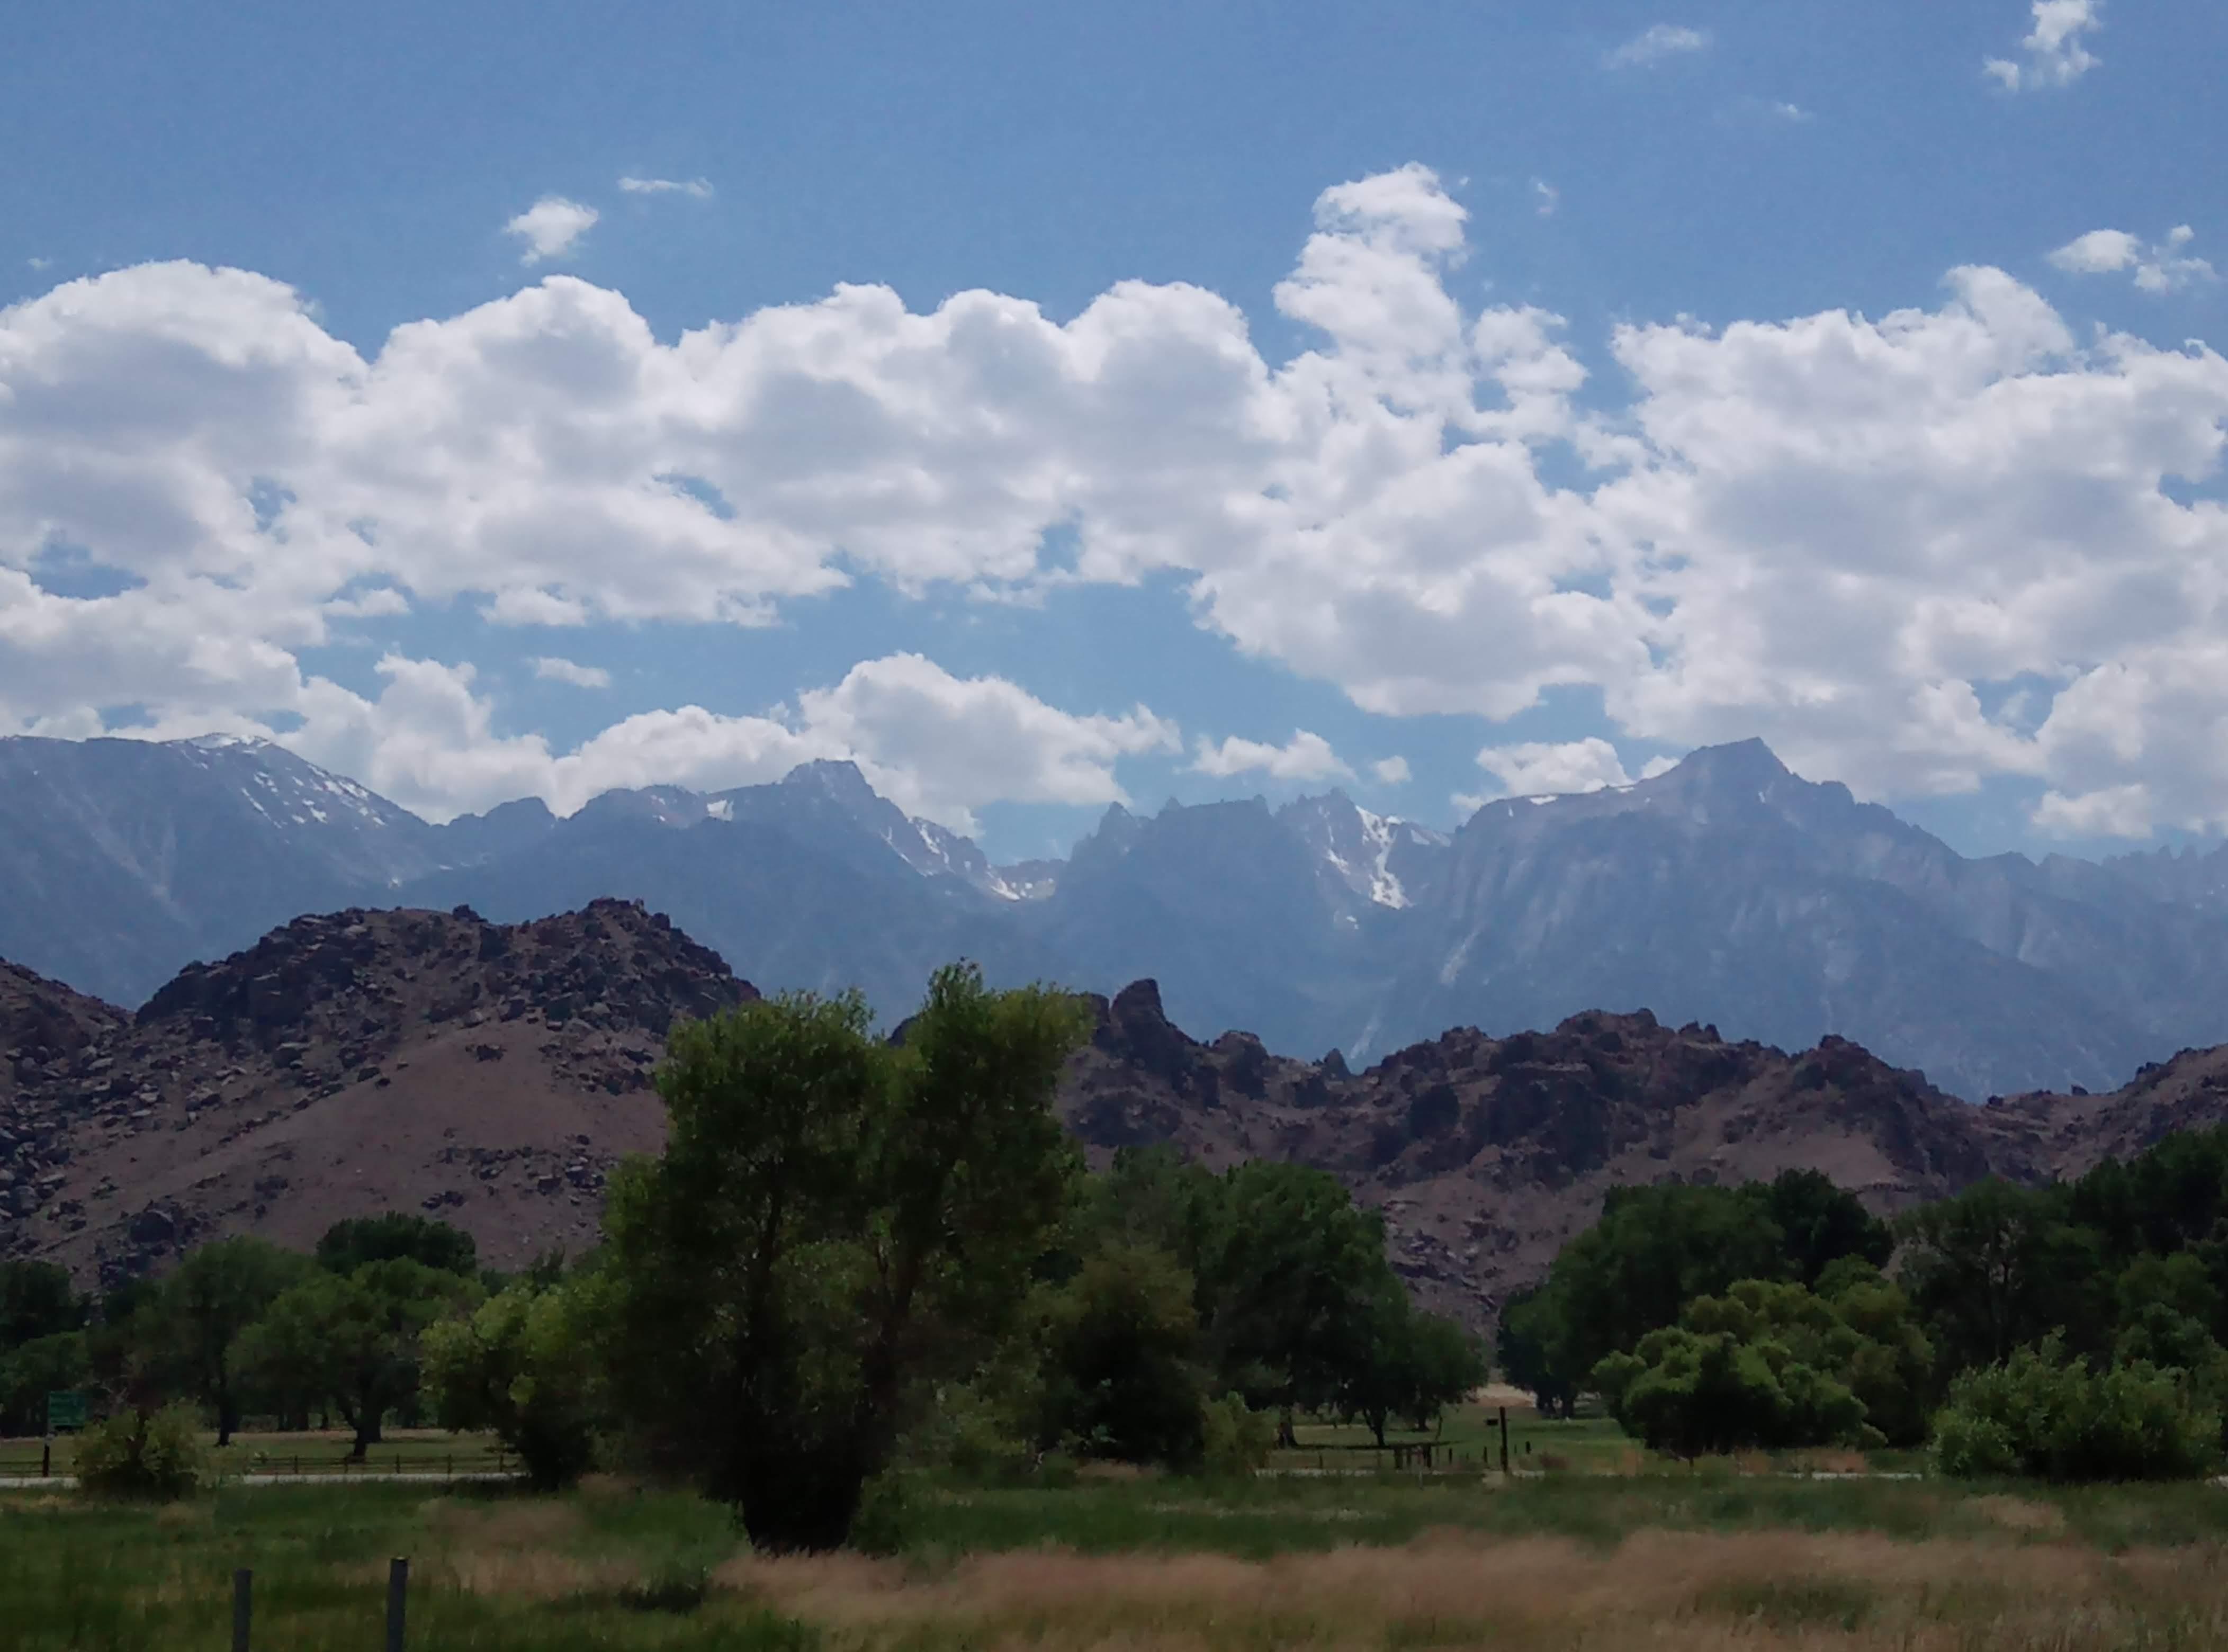
The first possibility to peak at the Yosemite side of Sierra Nevada. Breathtaking views, I really started to feel the altitude by now and lowered the tempo. Critters on the trail crest are trying to cute some food from unsuspecting hikers and judging by the fat and glossy look not without a success. Be aware and alert - animals here are not afraid of humans and will immediately munch right through your unattended backpack if situation permits.
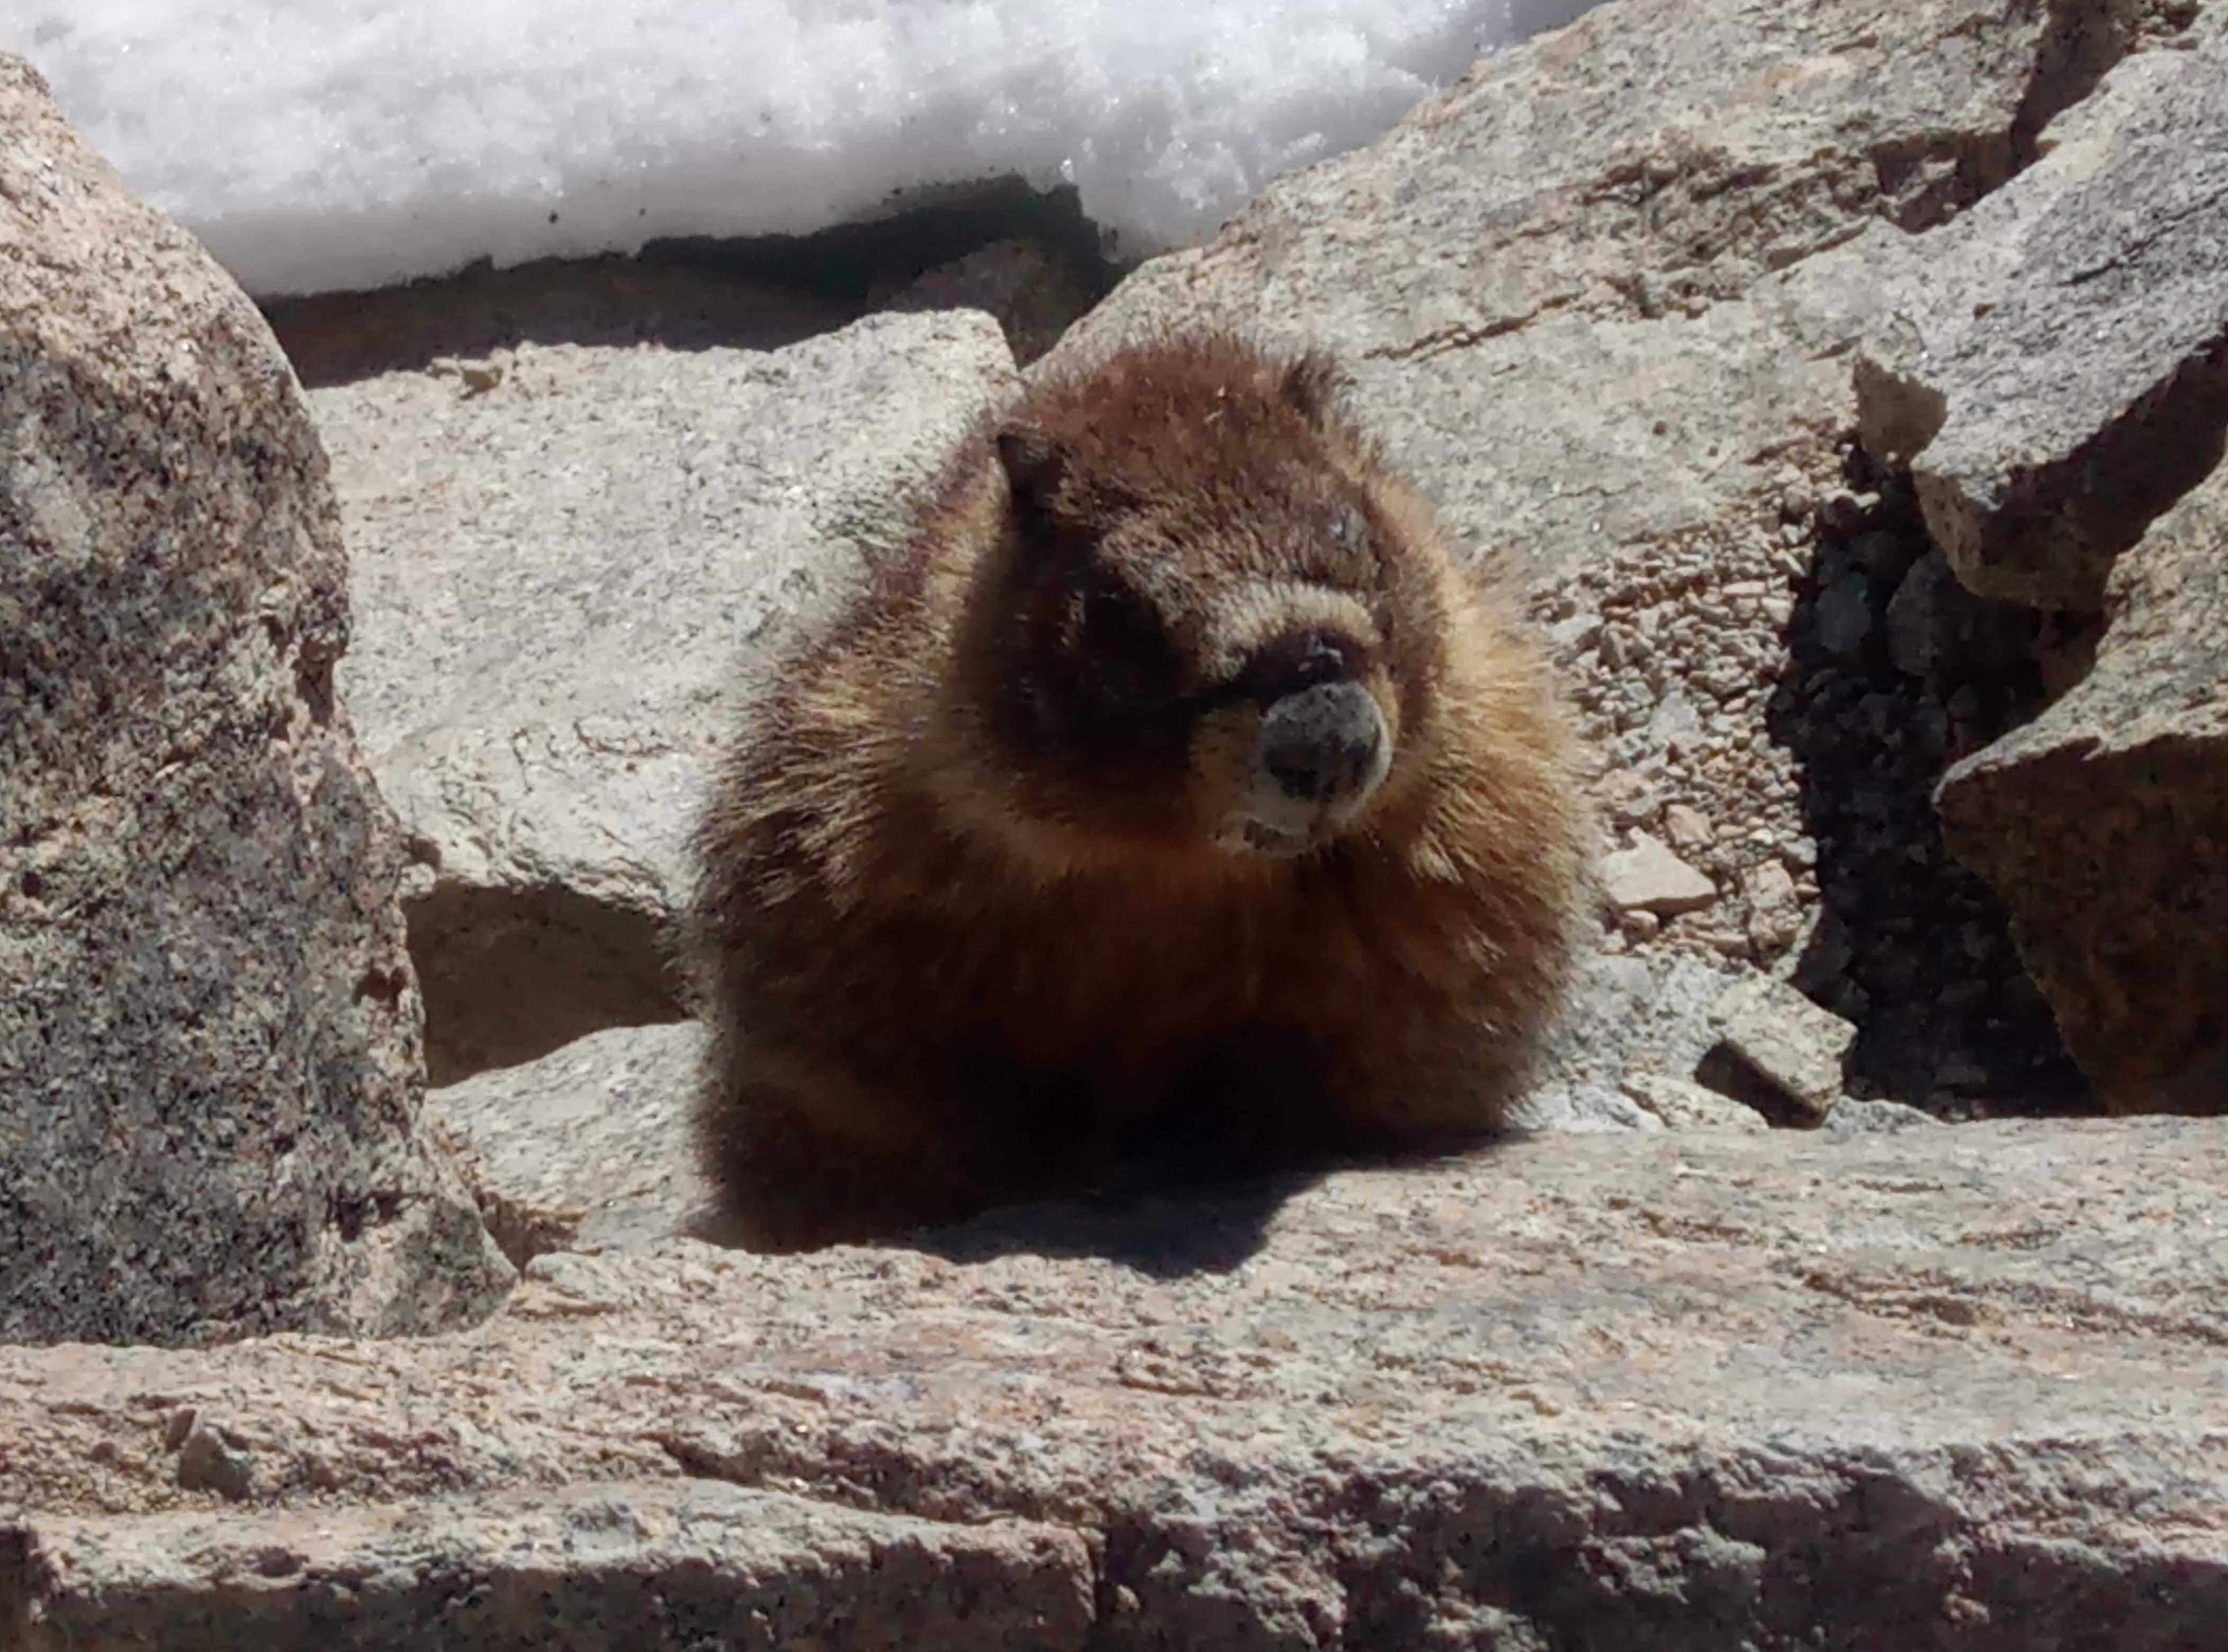
Lil muncher
I decided to pack my jacket because while I was walking up the Chute sun started to burn me up a bit but as soon as I got into the crest opening whooshing winds made me to reconsider the decision. Wind speed was constantly rising reaching approximately 40 mph by 1251 when I summited.
Trail Crest
Ridge - the most dangerous part of the hike.
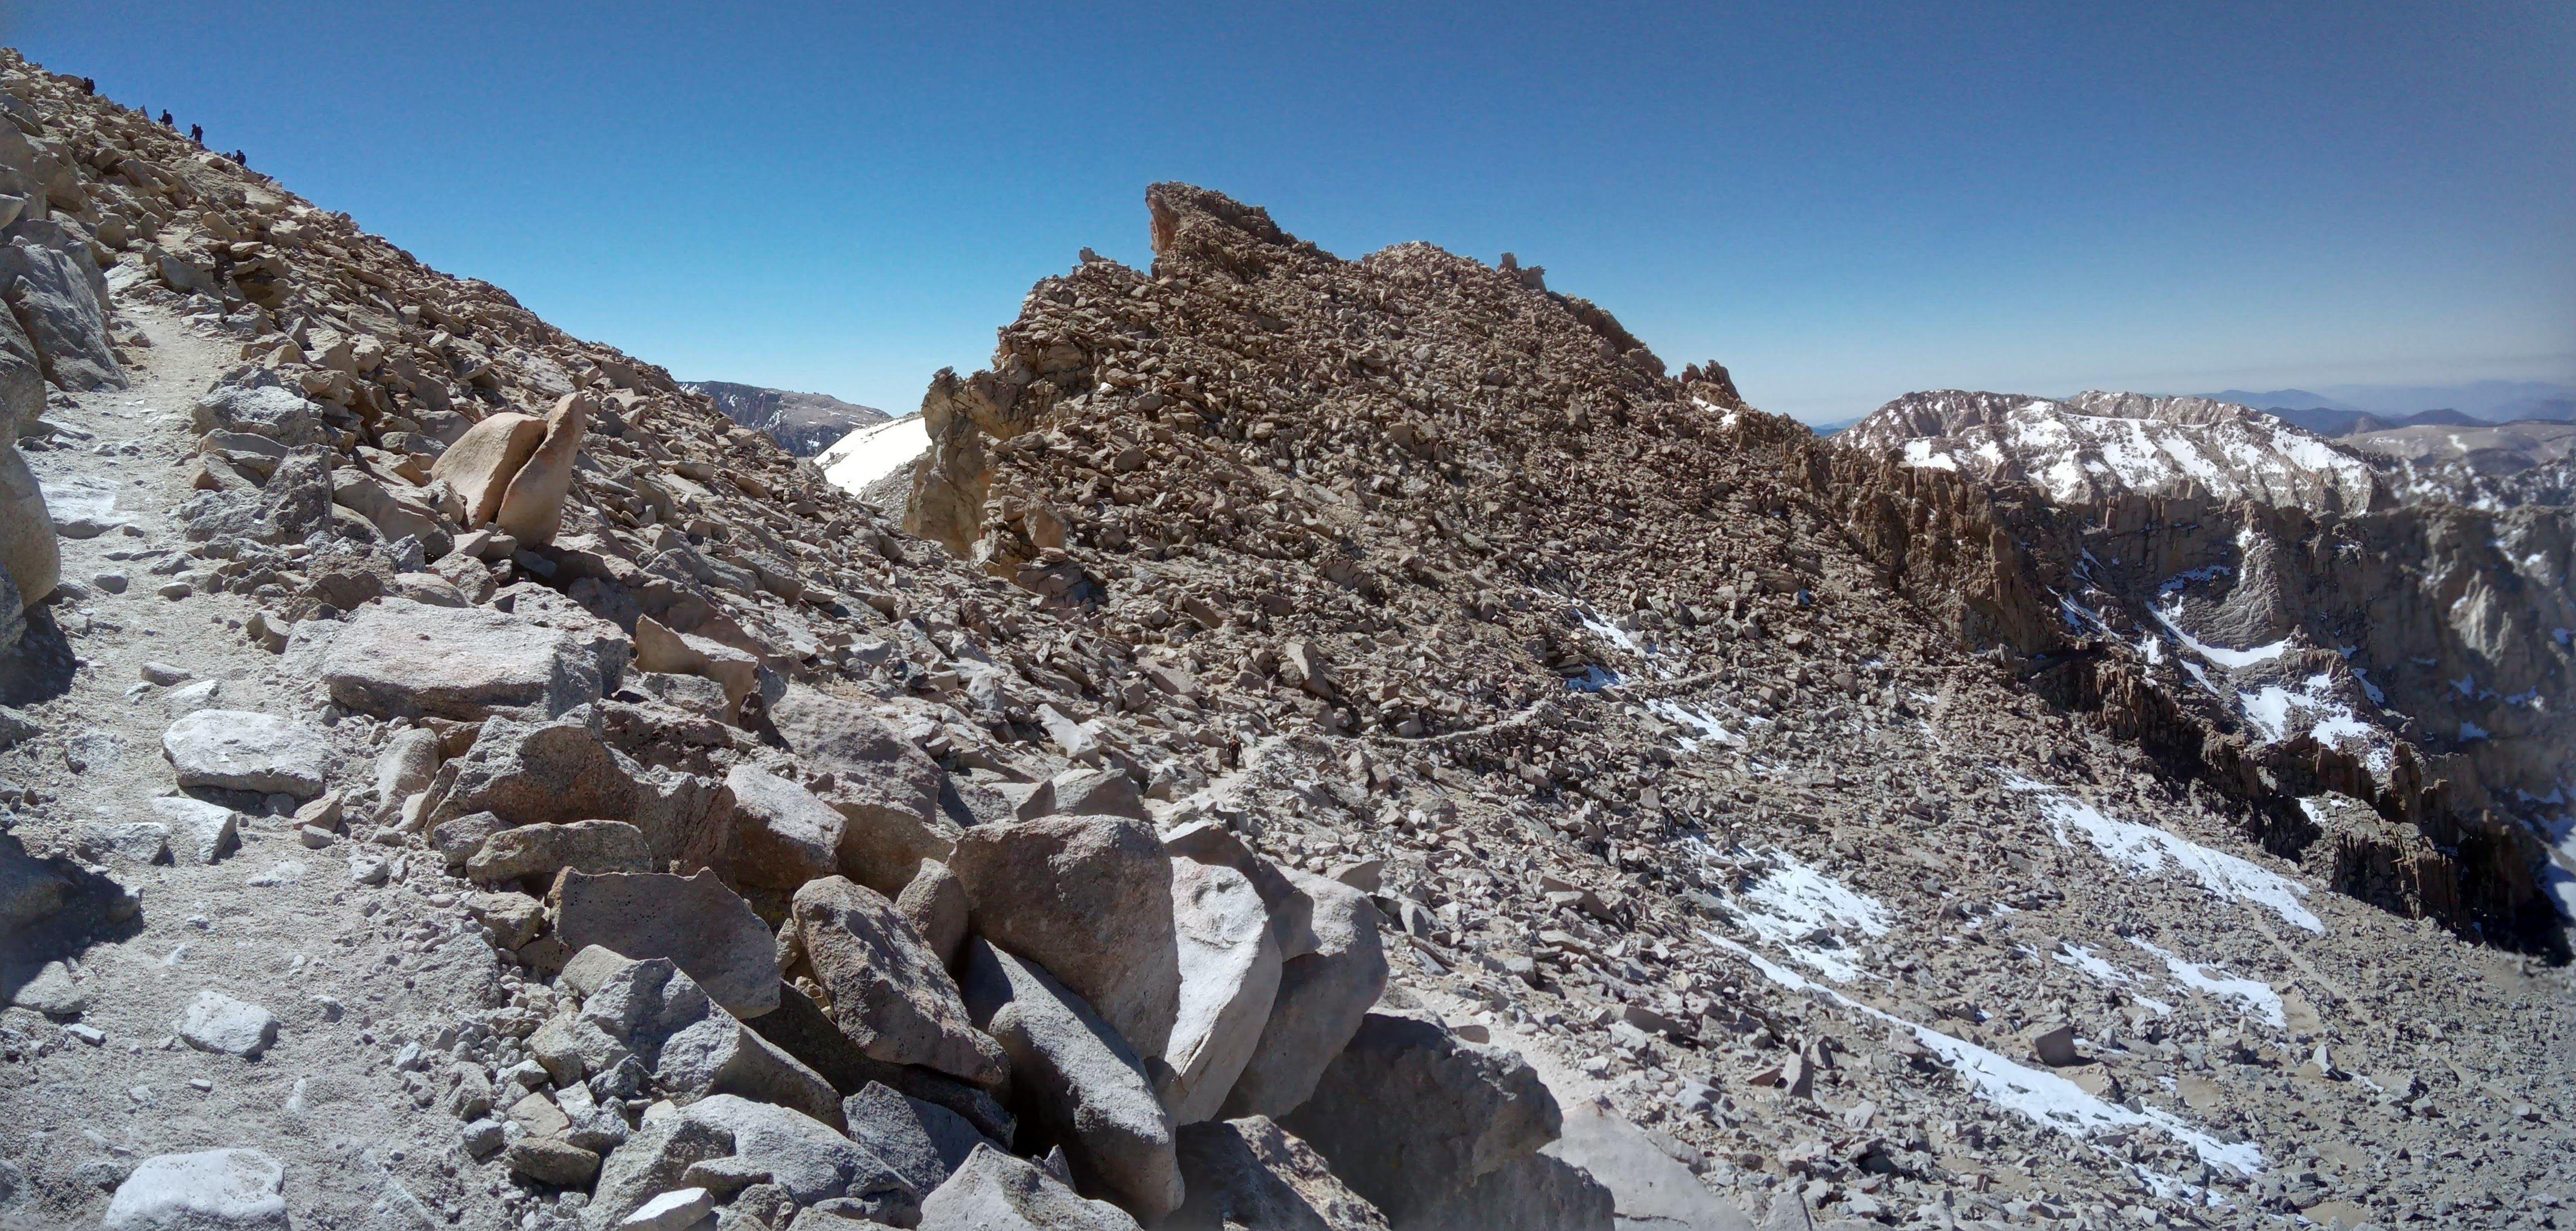
The ridge
The trail is narrow, during an early season there are still patches of snow and ice here and there. Two patches were exceptionally nasty and made me to put crampons on.
The ridge
This is where ‘microspikes’ excel as you can put them on in seconds and it does not require lot of effort. Three or four times the trail crosses ‘windows’:

A window
Portals in the ridge between the valleys. Wind gusts were especially strong there, I didn’t risk staying for too long while the scenery opening through these ‘windows’ is simply astonishing. The trail hugs the western slope of the mountain. You gain another 450 m of altitude.
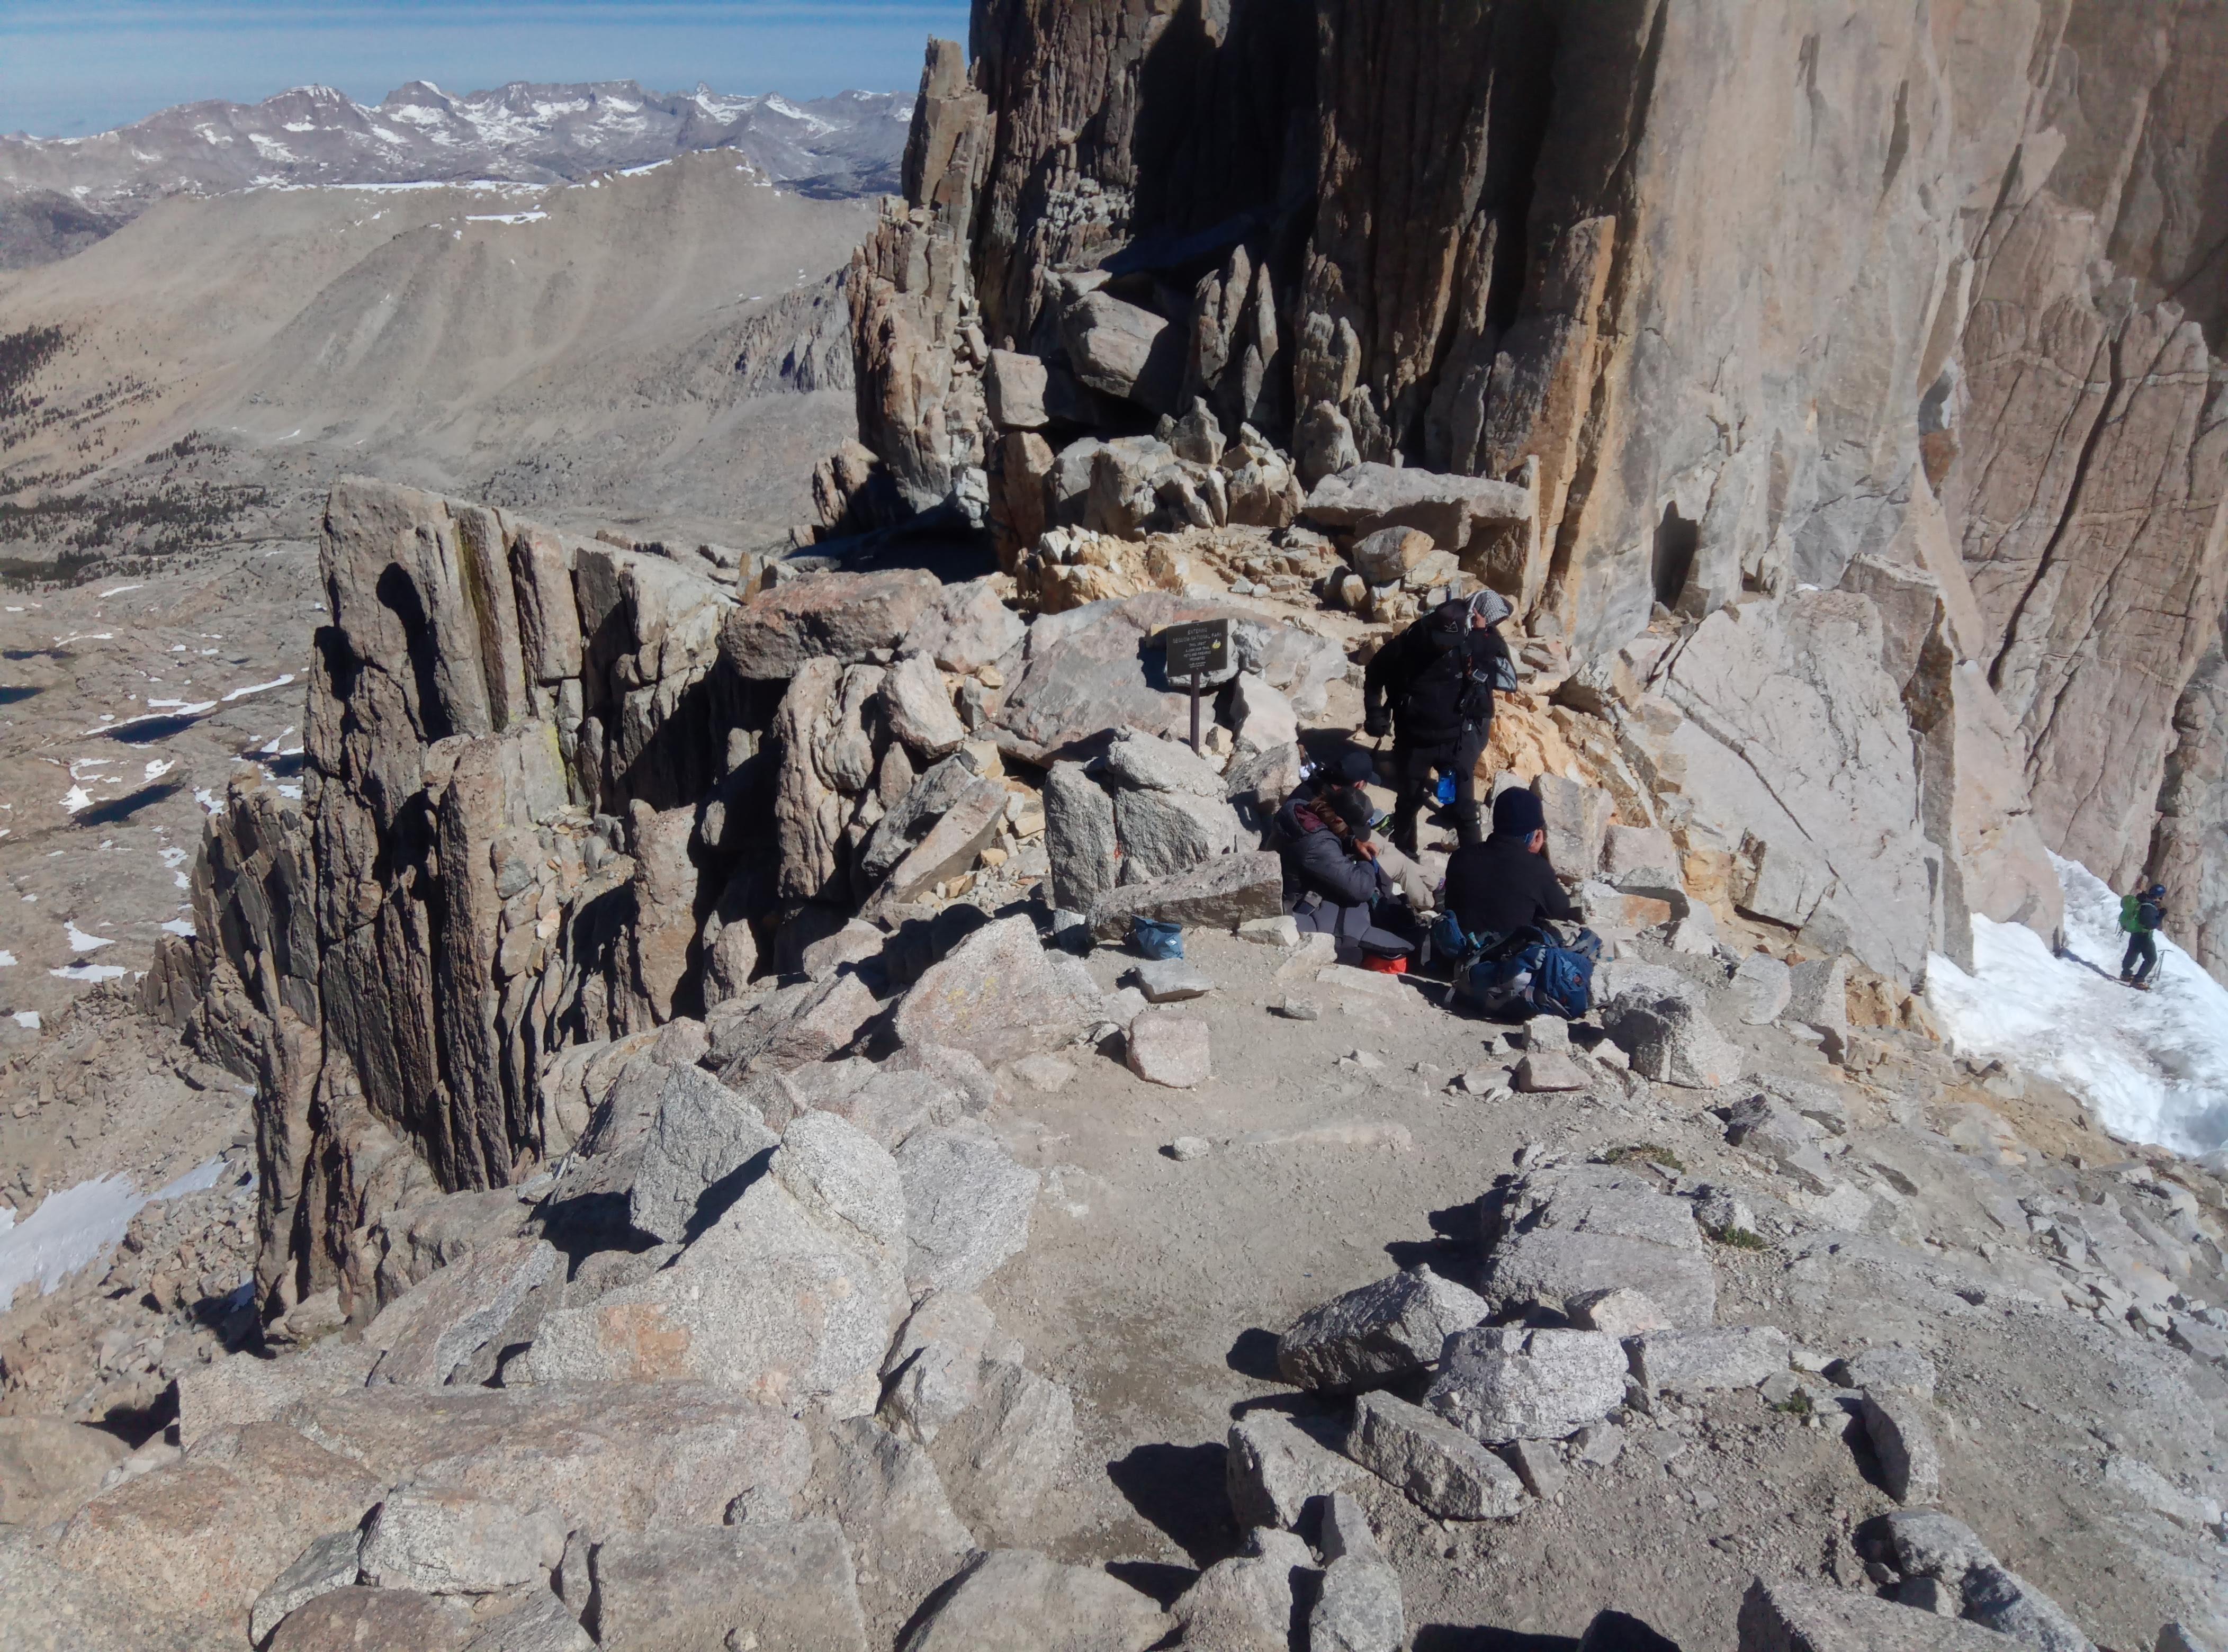
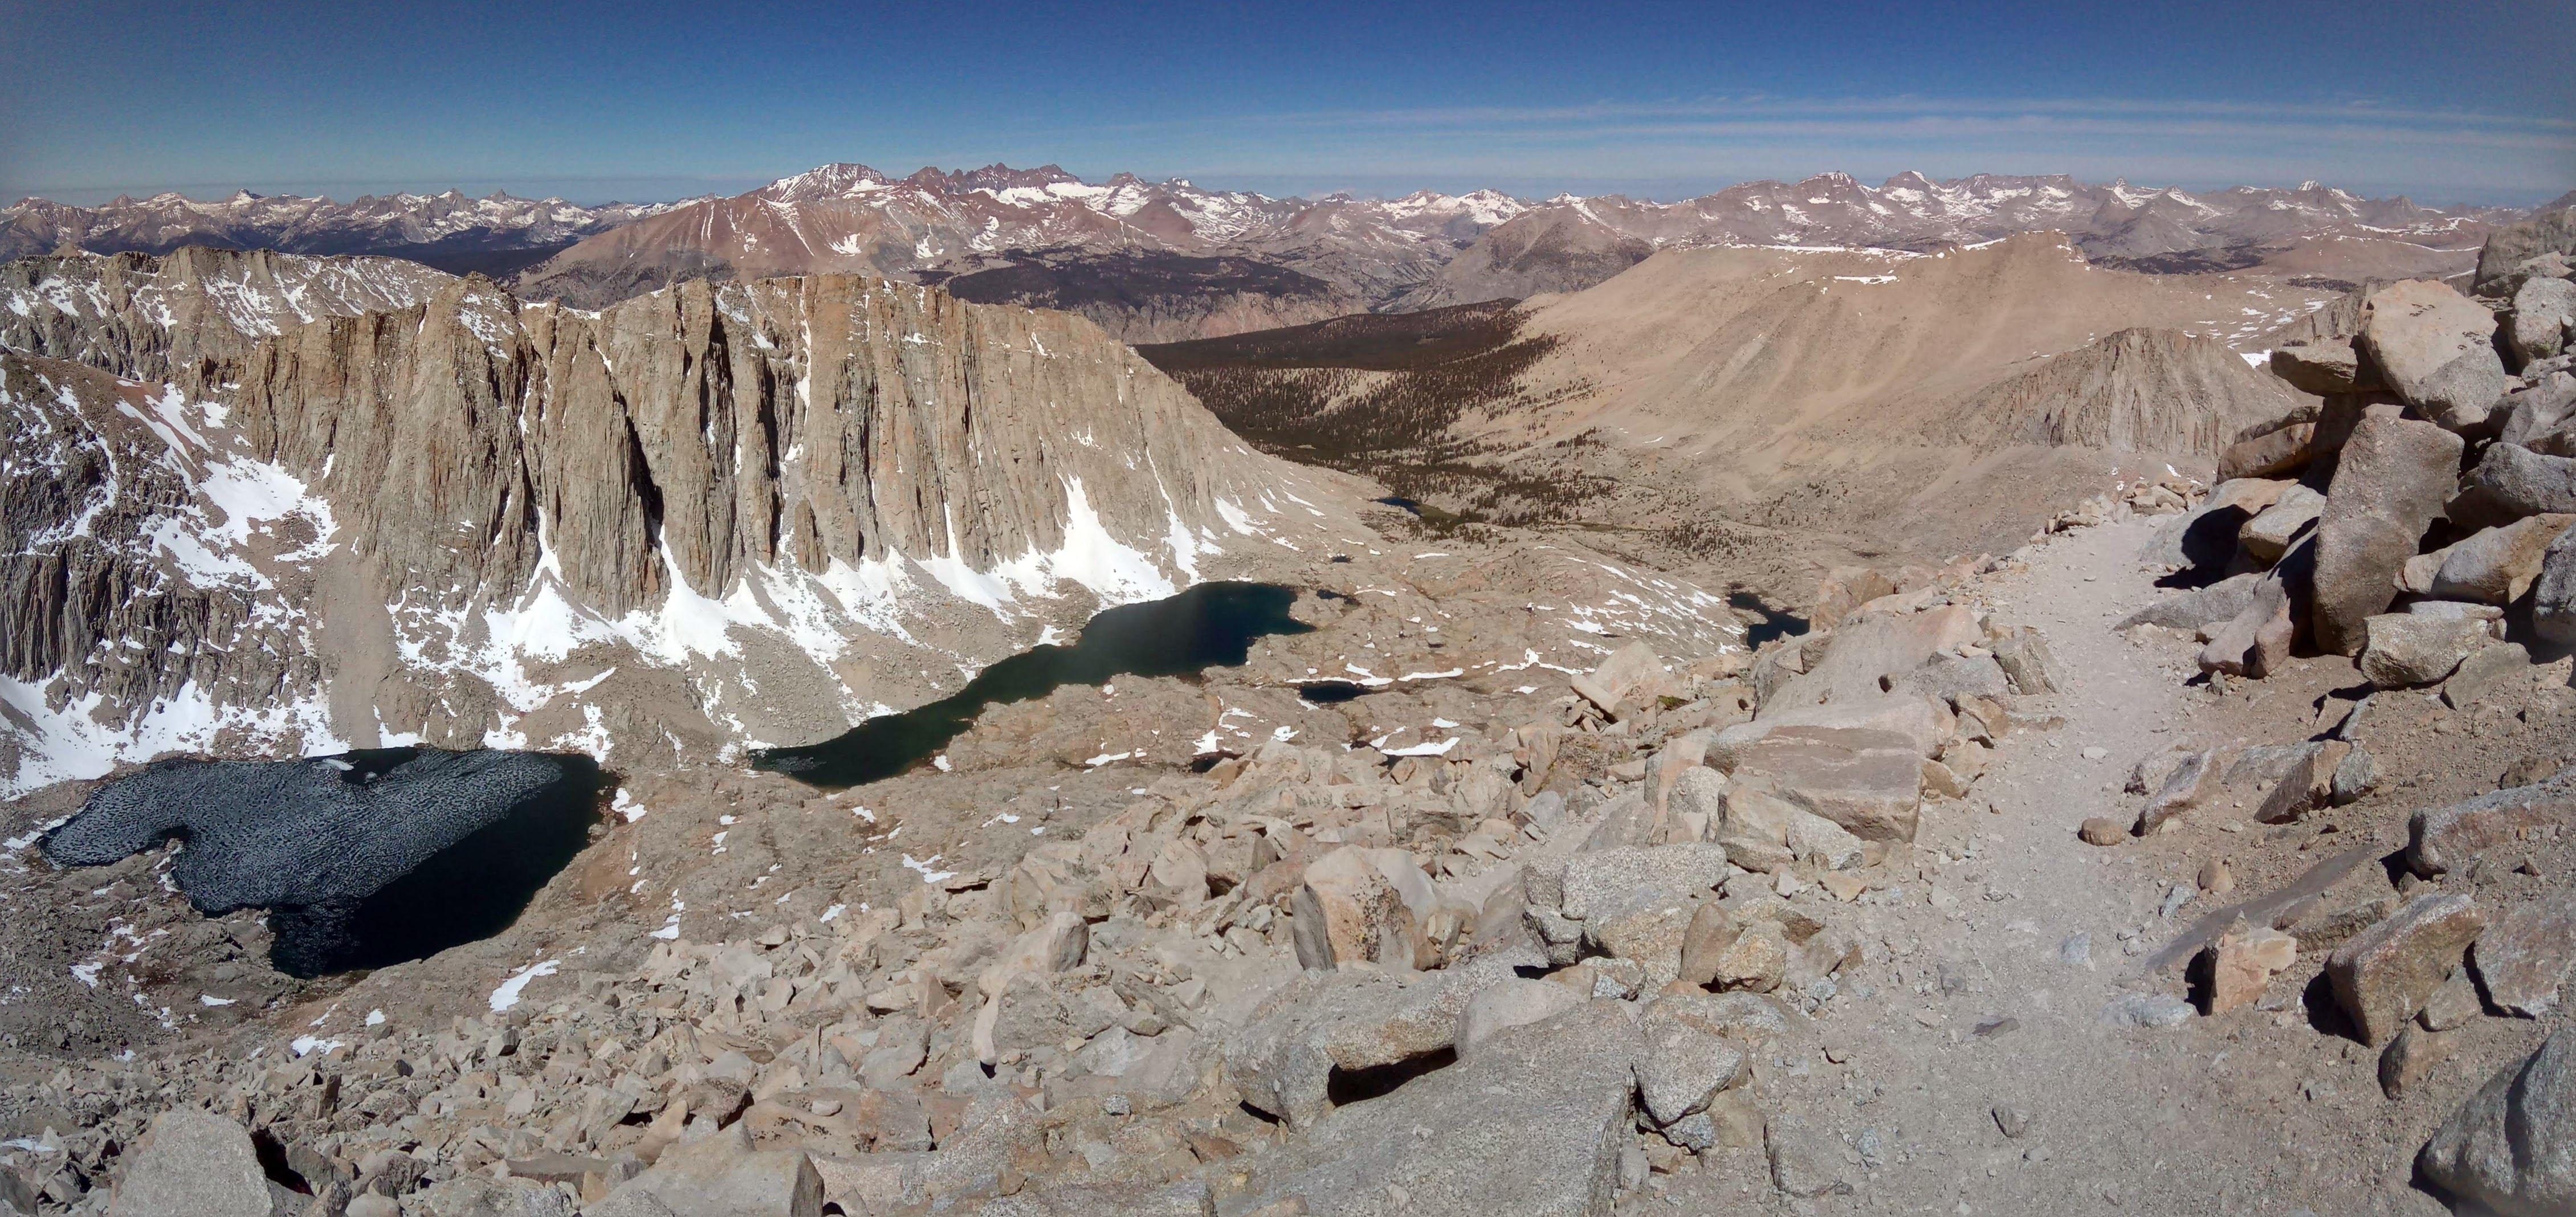
1251 Summit
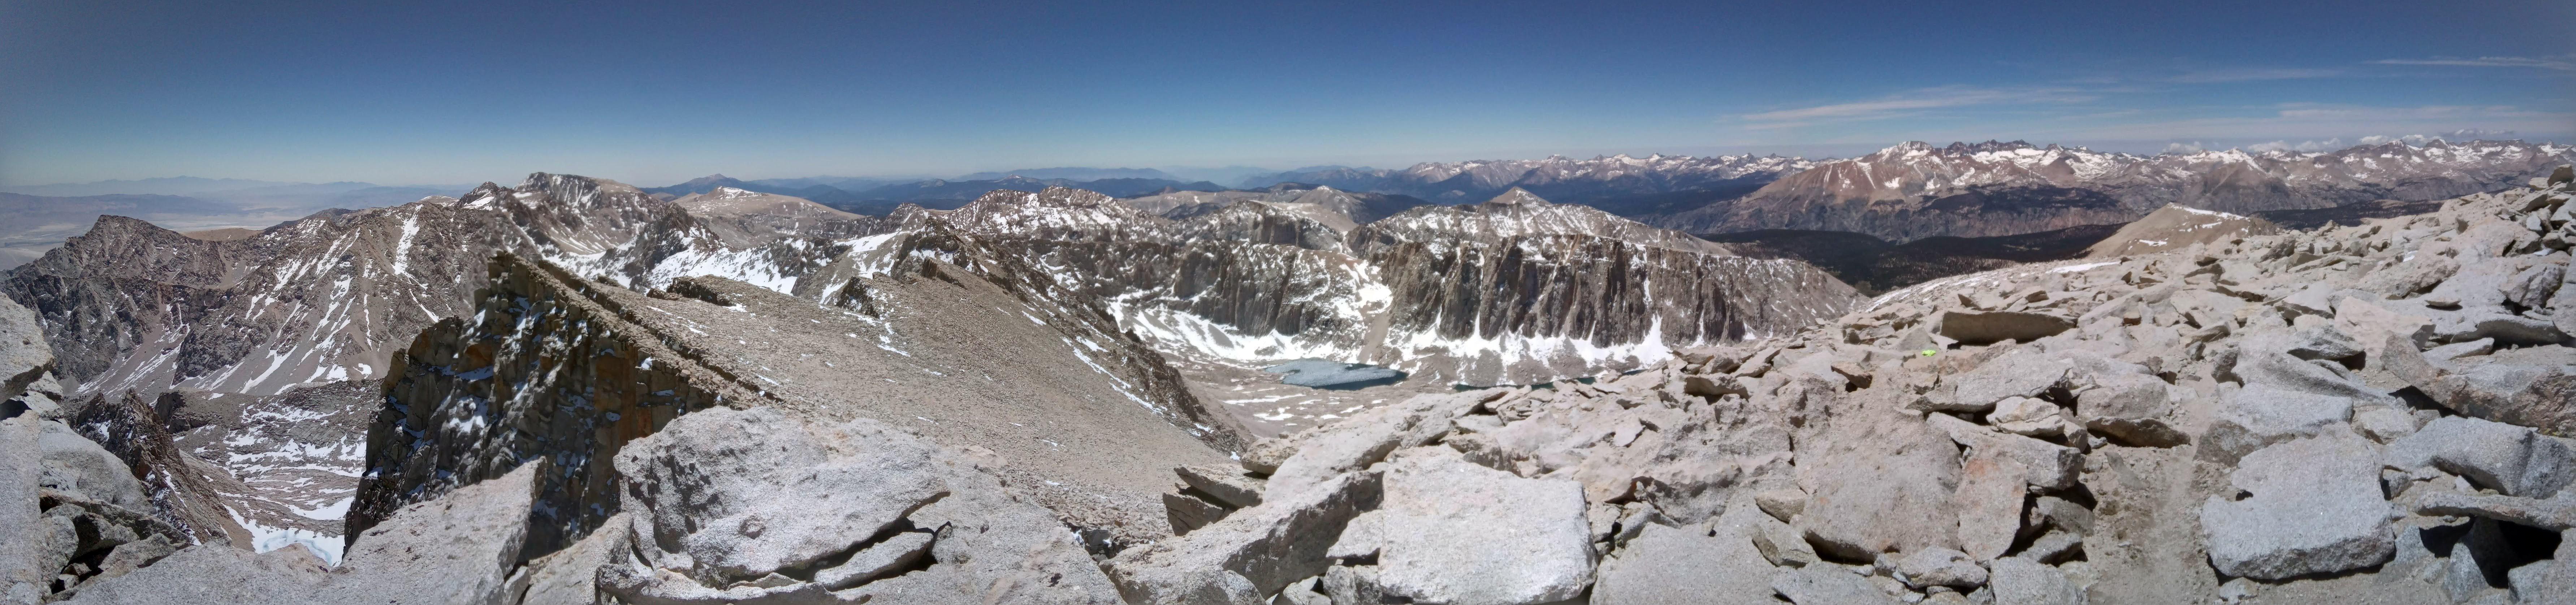
Summit panorama
Smithsonian hut built in 1904 was meant to house scientists during storms.
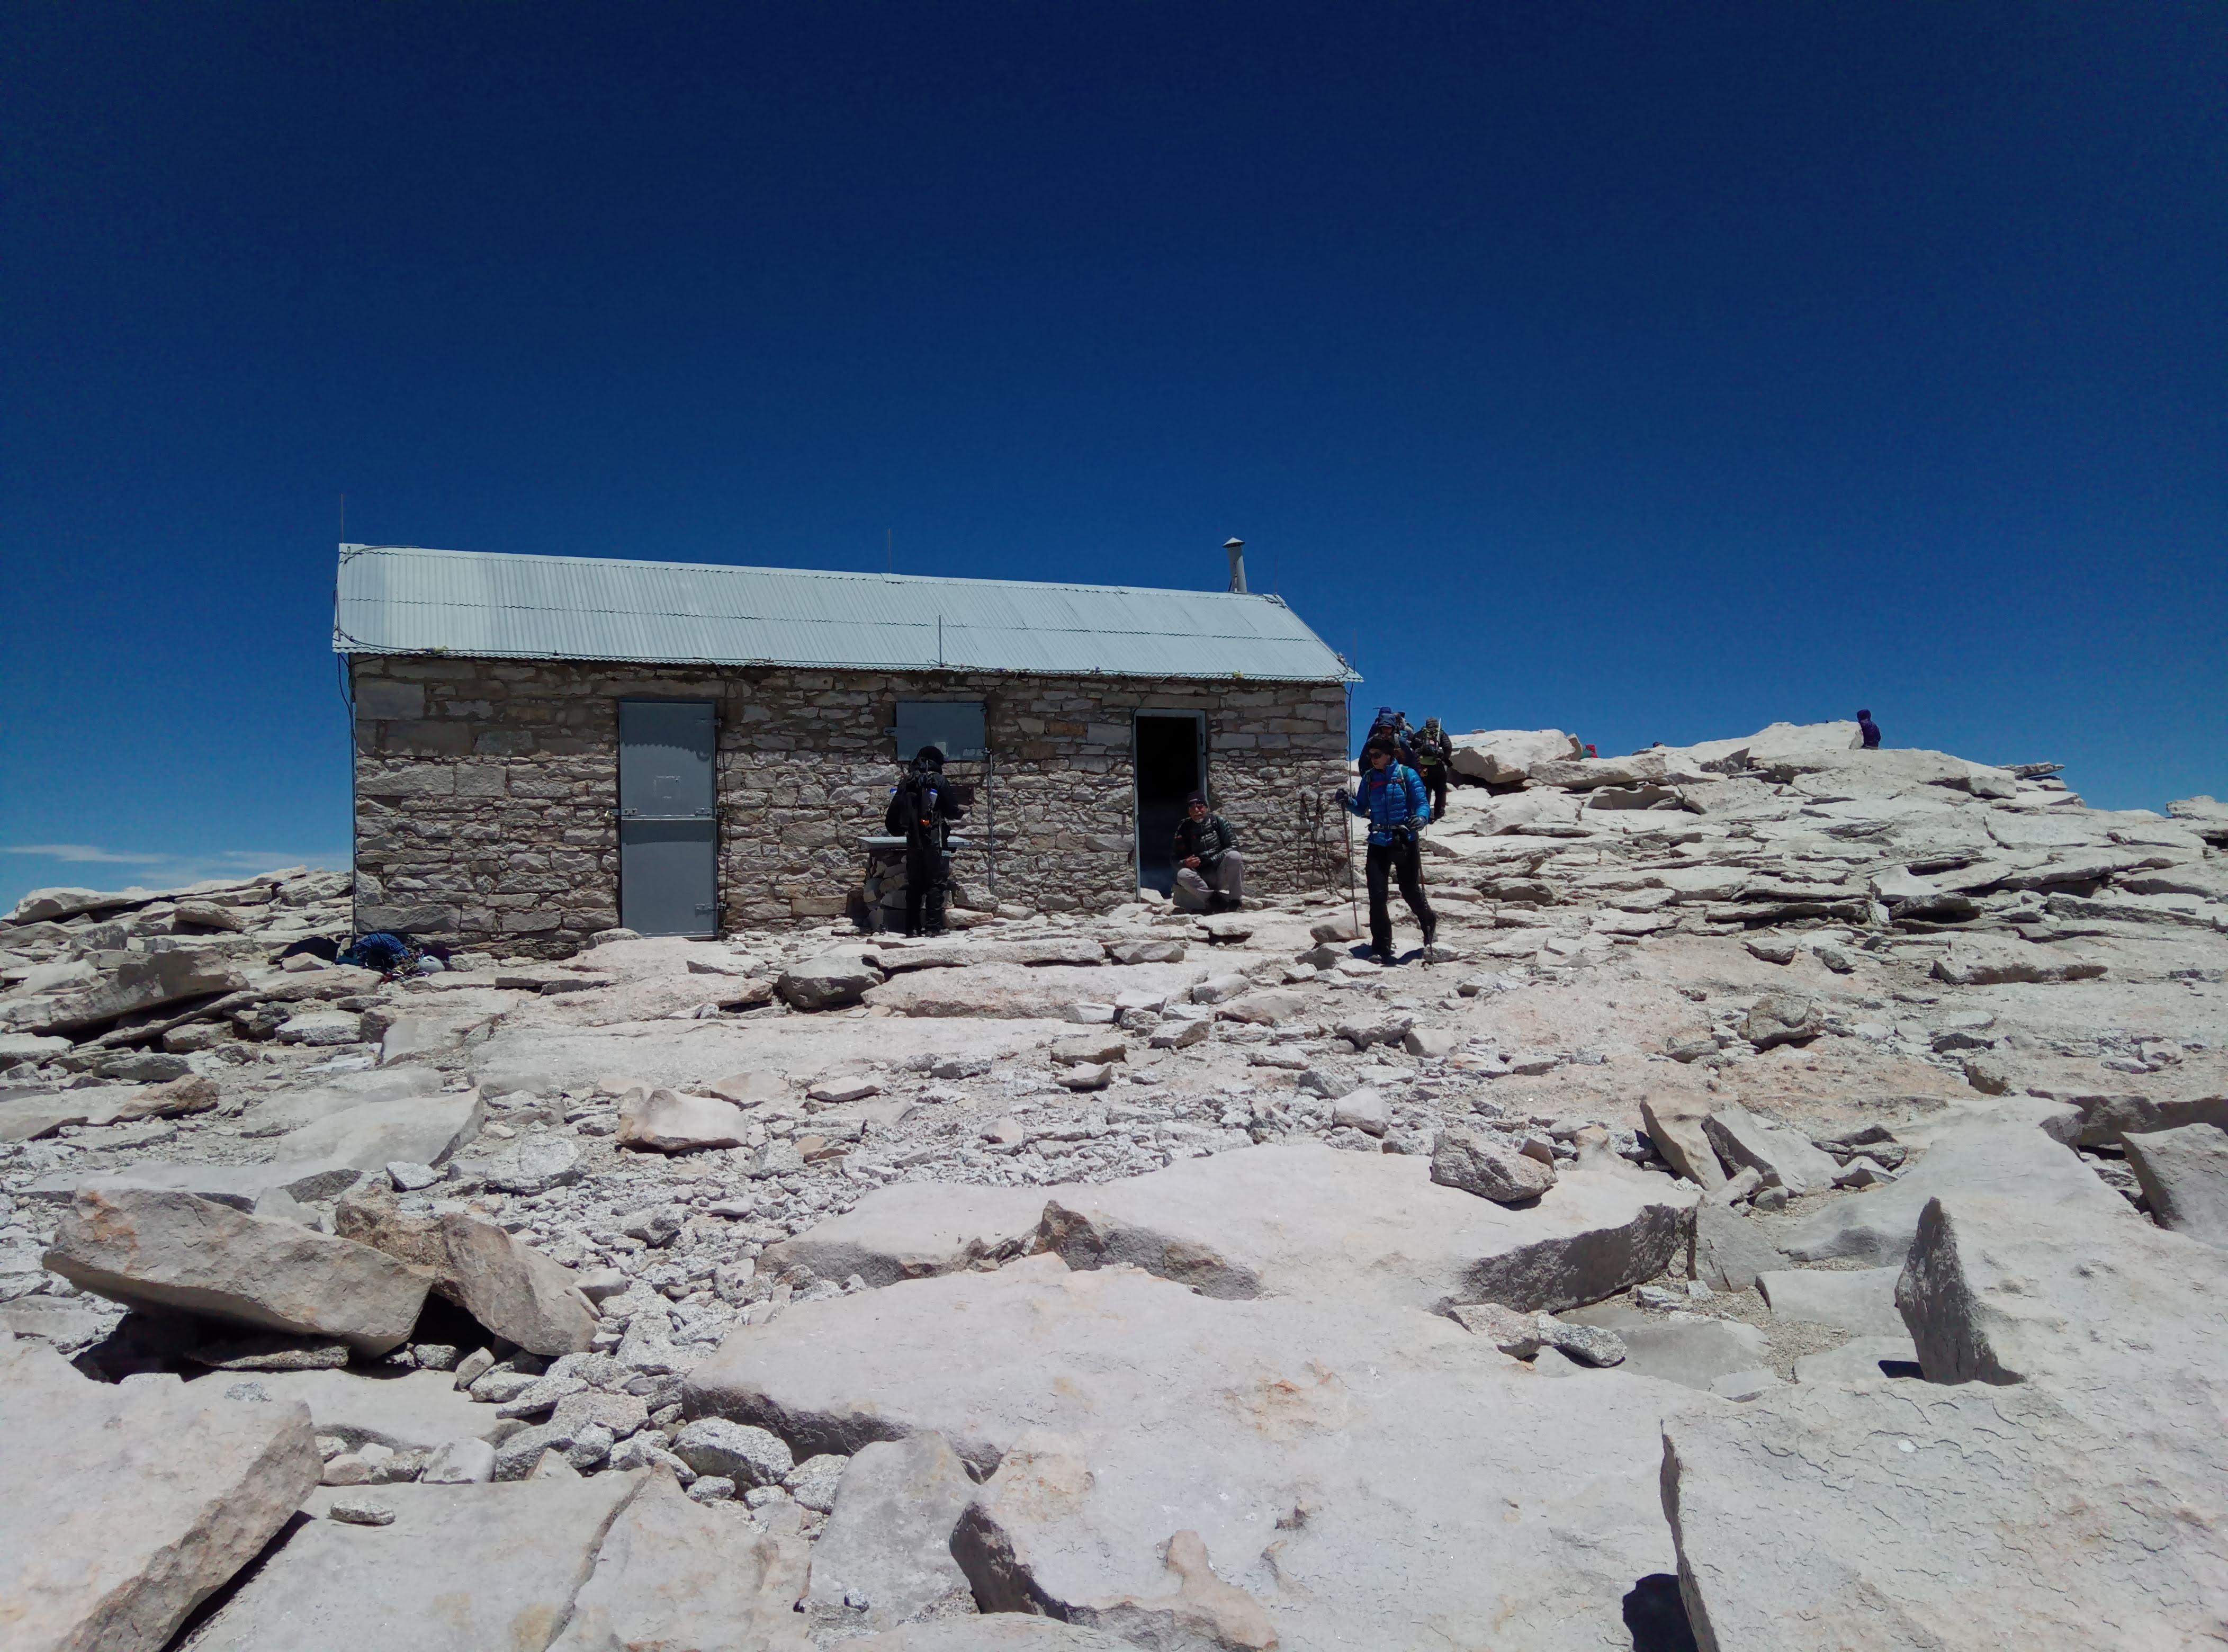
Smithsonian hut
It is not considered safe during thunder storm nowadays. If you see clouds you should turn back immediately - there is no quick way down and you may be easily caught by a storm. Add altitude sickness here and you have a receipt for a very nasty situation. Storms usually happen in the afternoon and this is why it is important to get to the summit as early as possible. I didn’t hang for too long at the summit because almost immediately after I put my name into the visitor book in the box on the side of the Smithsonian hut I’ve started to feel a bit queasy - altitude sickness started to kick in. Losing ~250 meters of altitude half way back on the ridge made me feel way better.
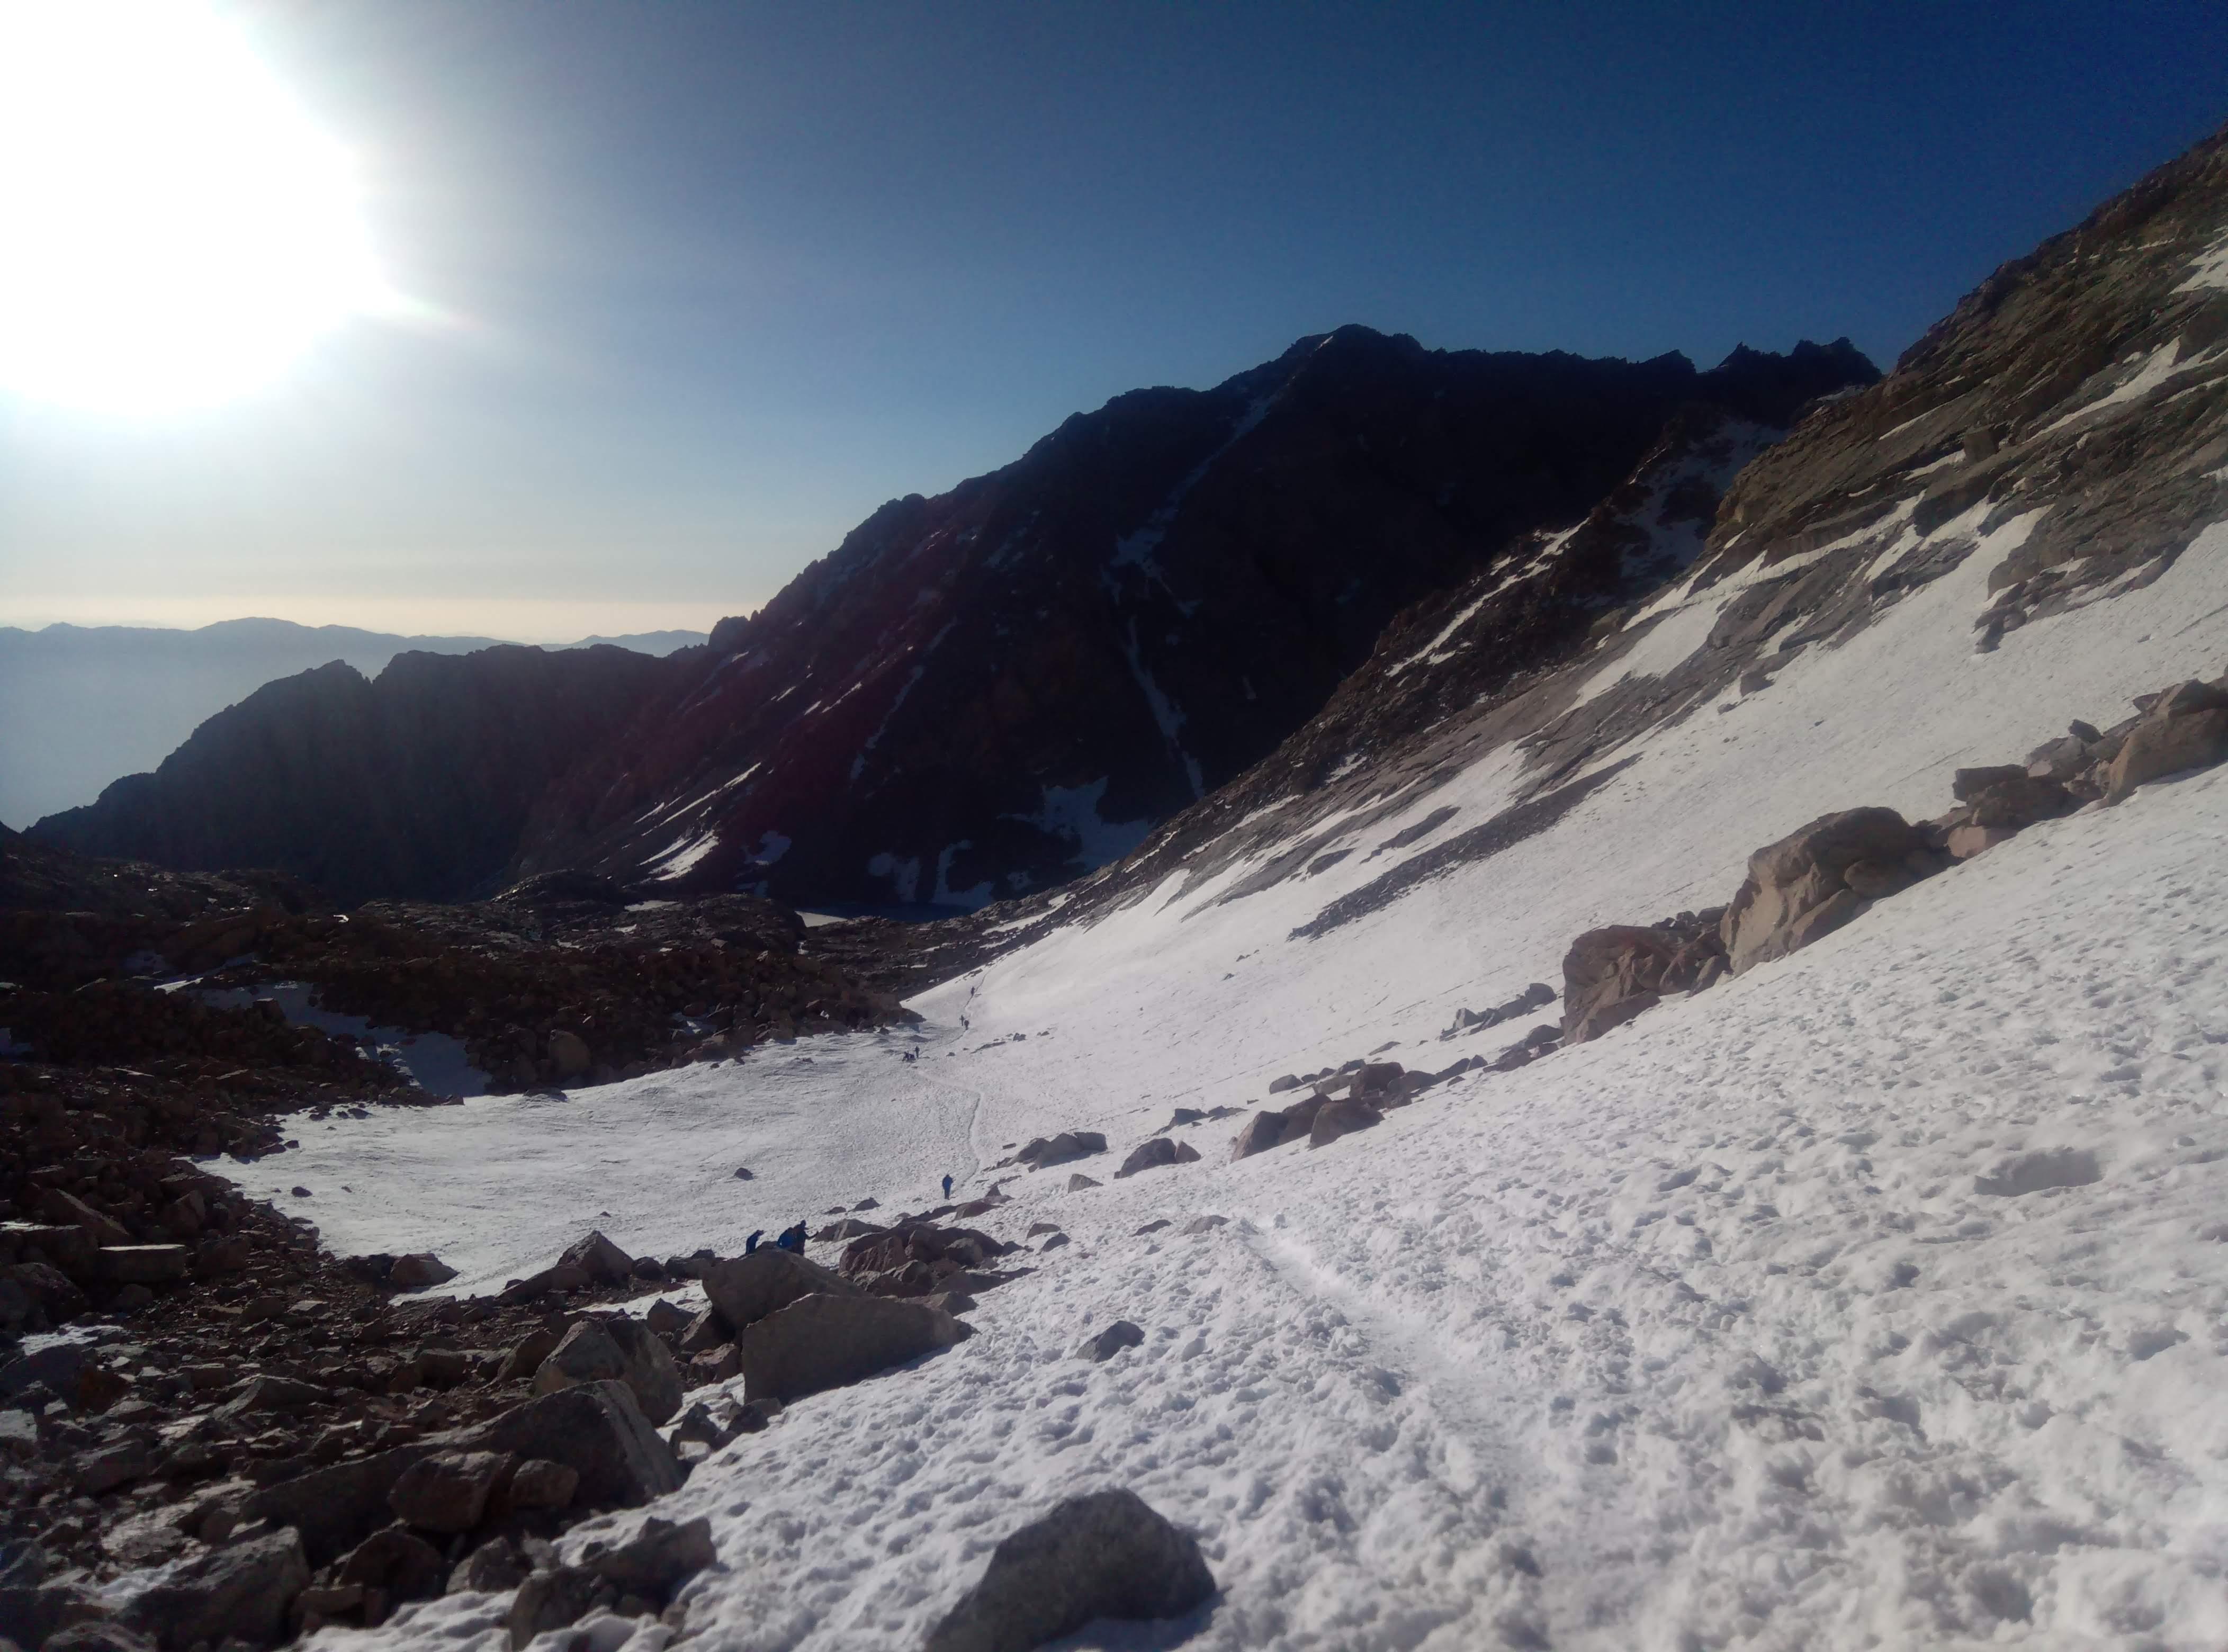
1500 Trail Crest
From Trail Camp down hike was not too remarkable.
Below Trail Camp
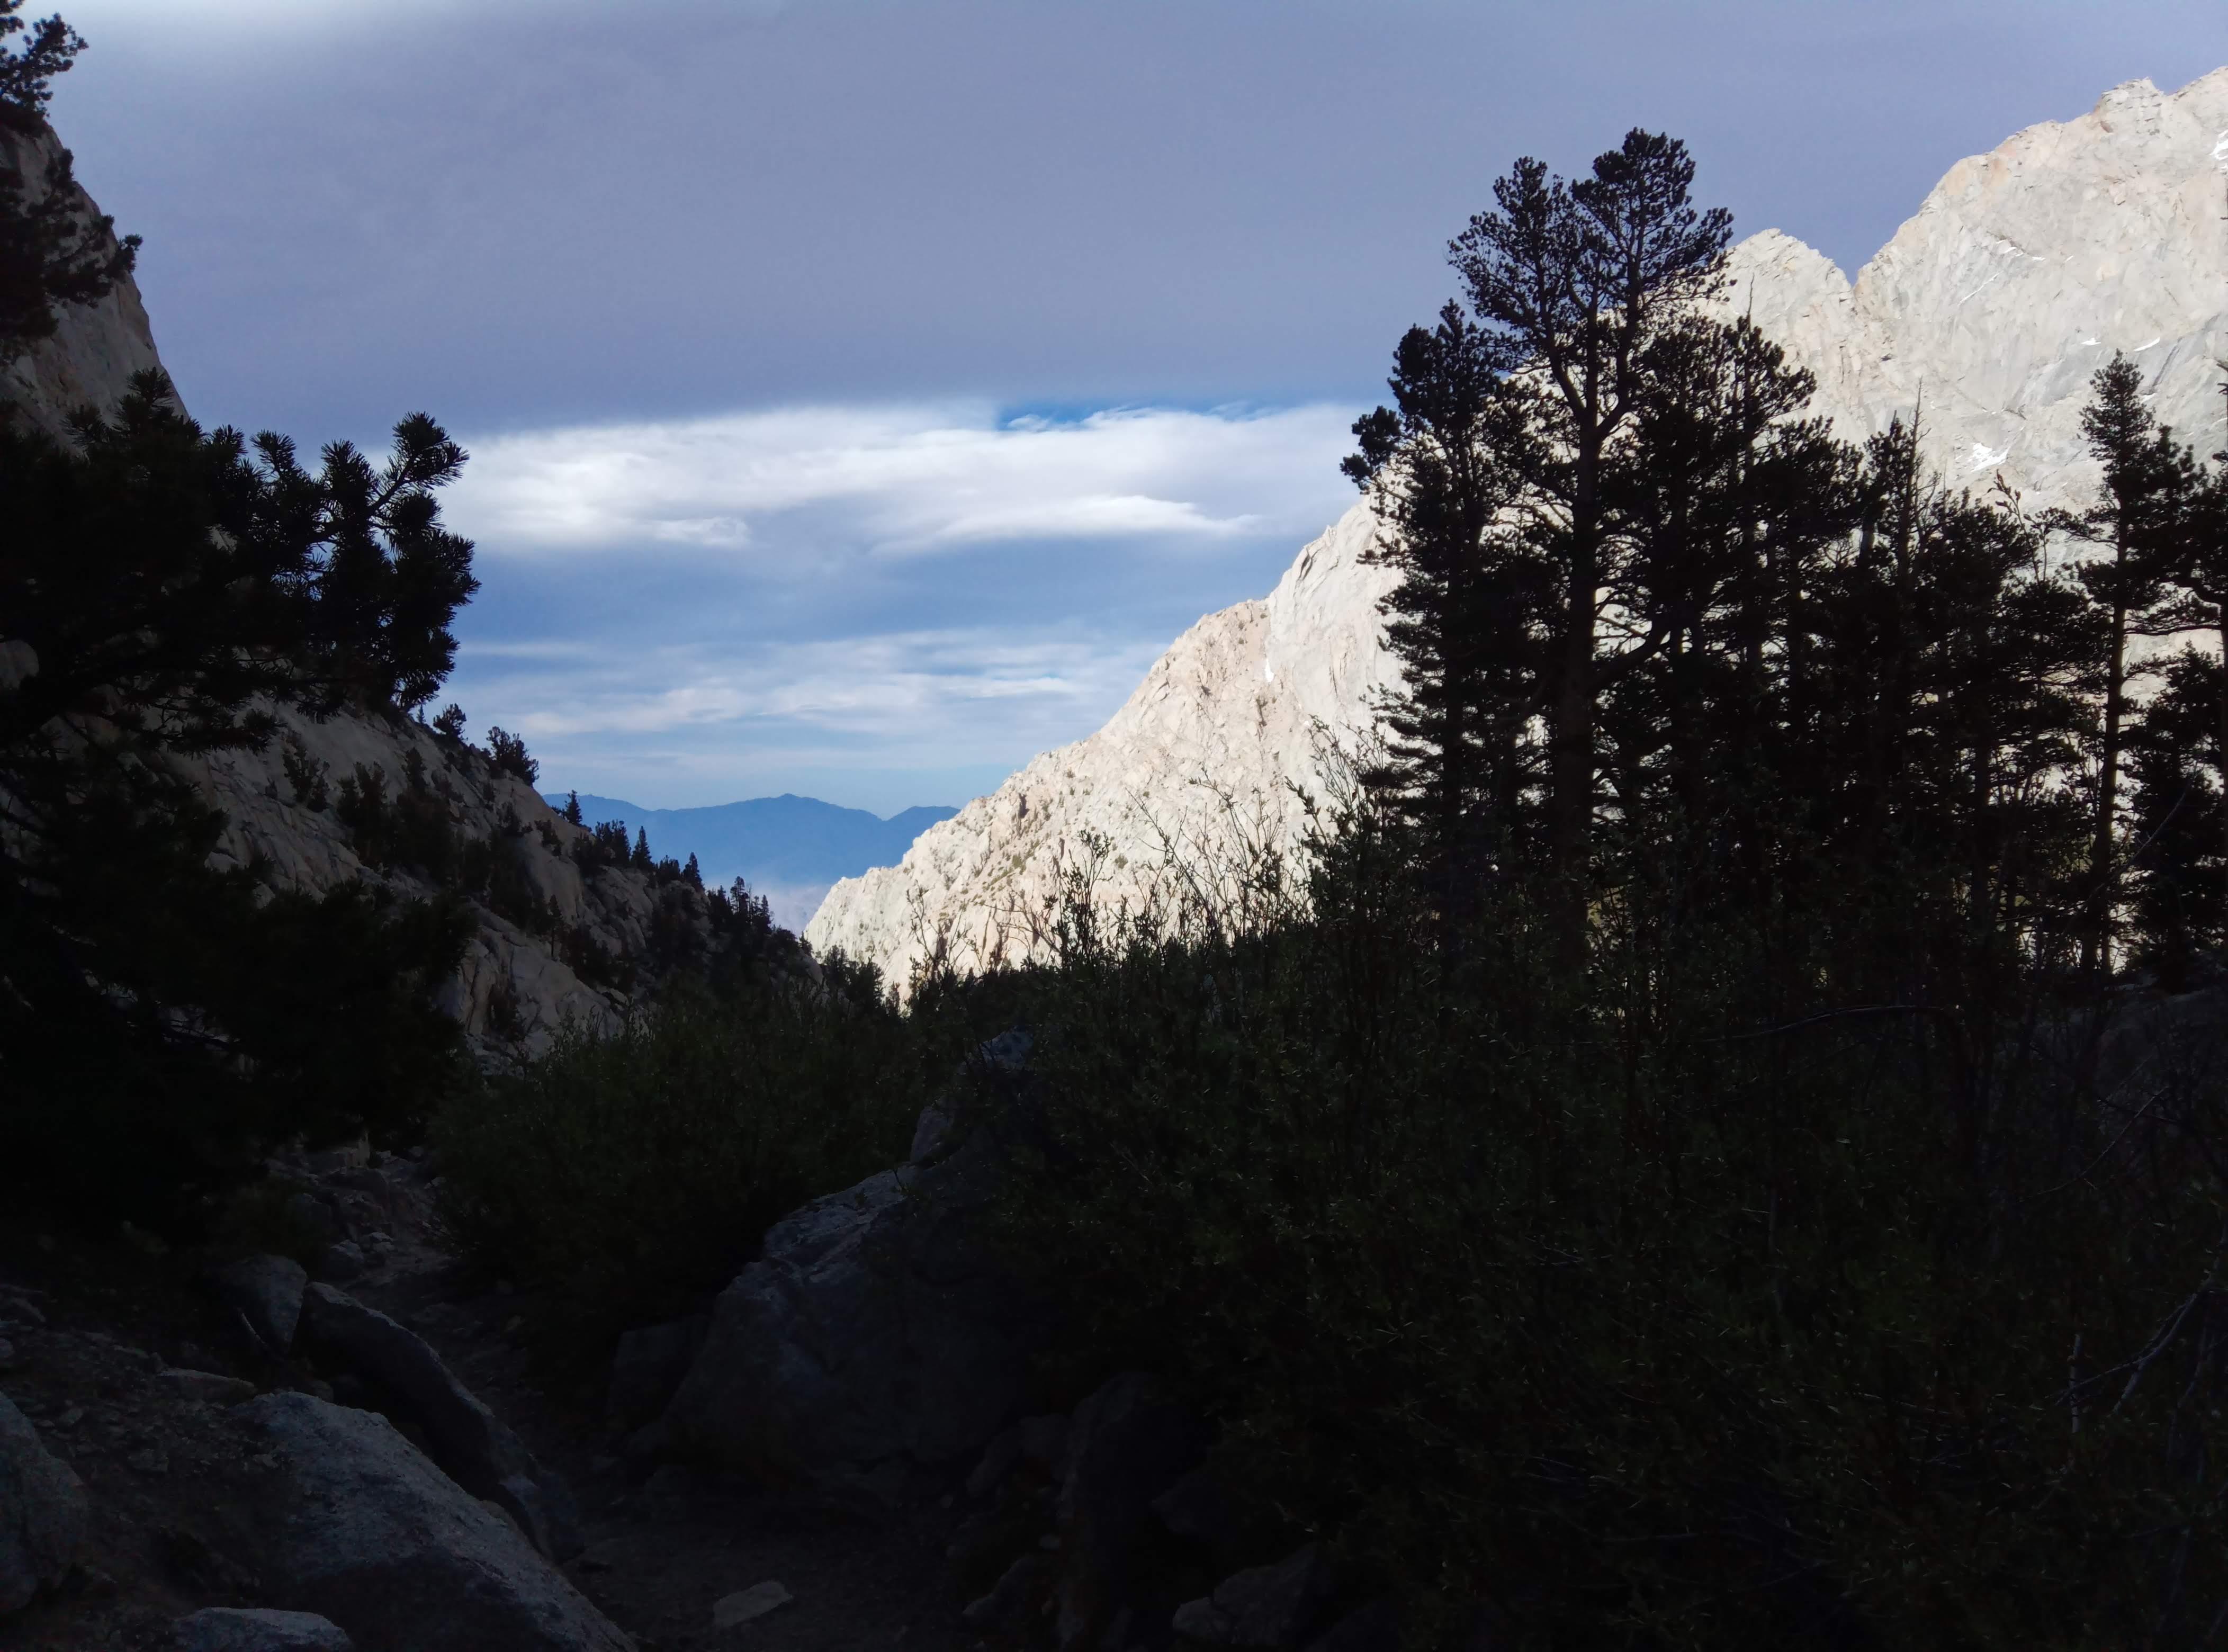
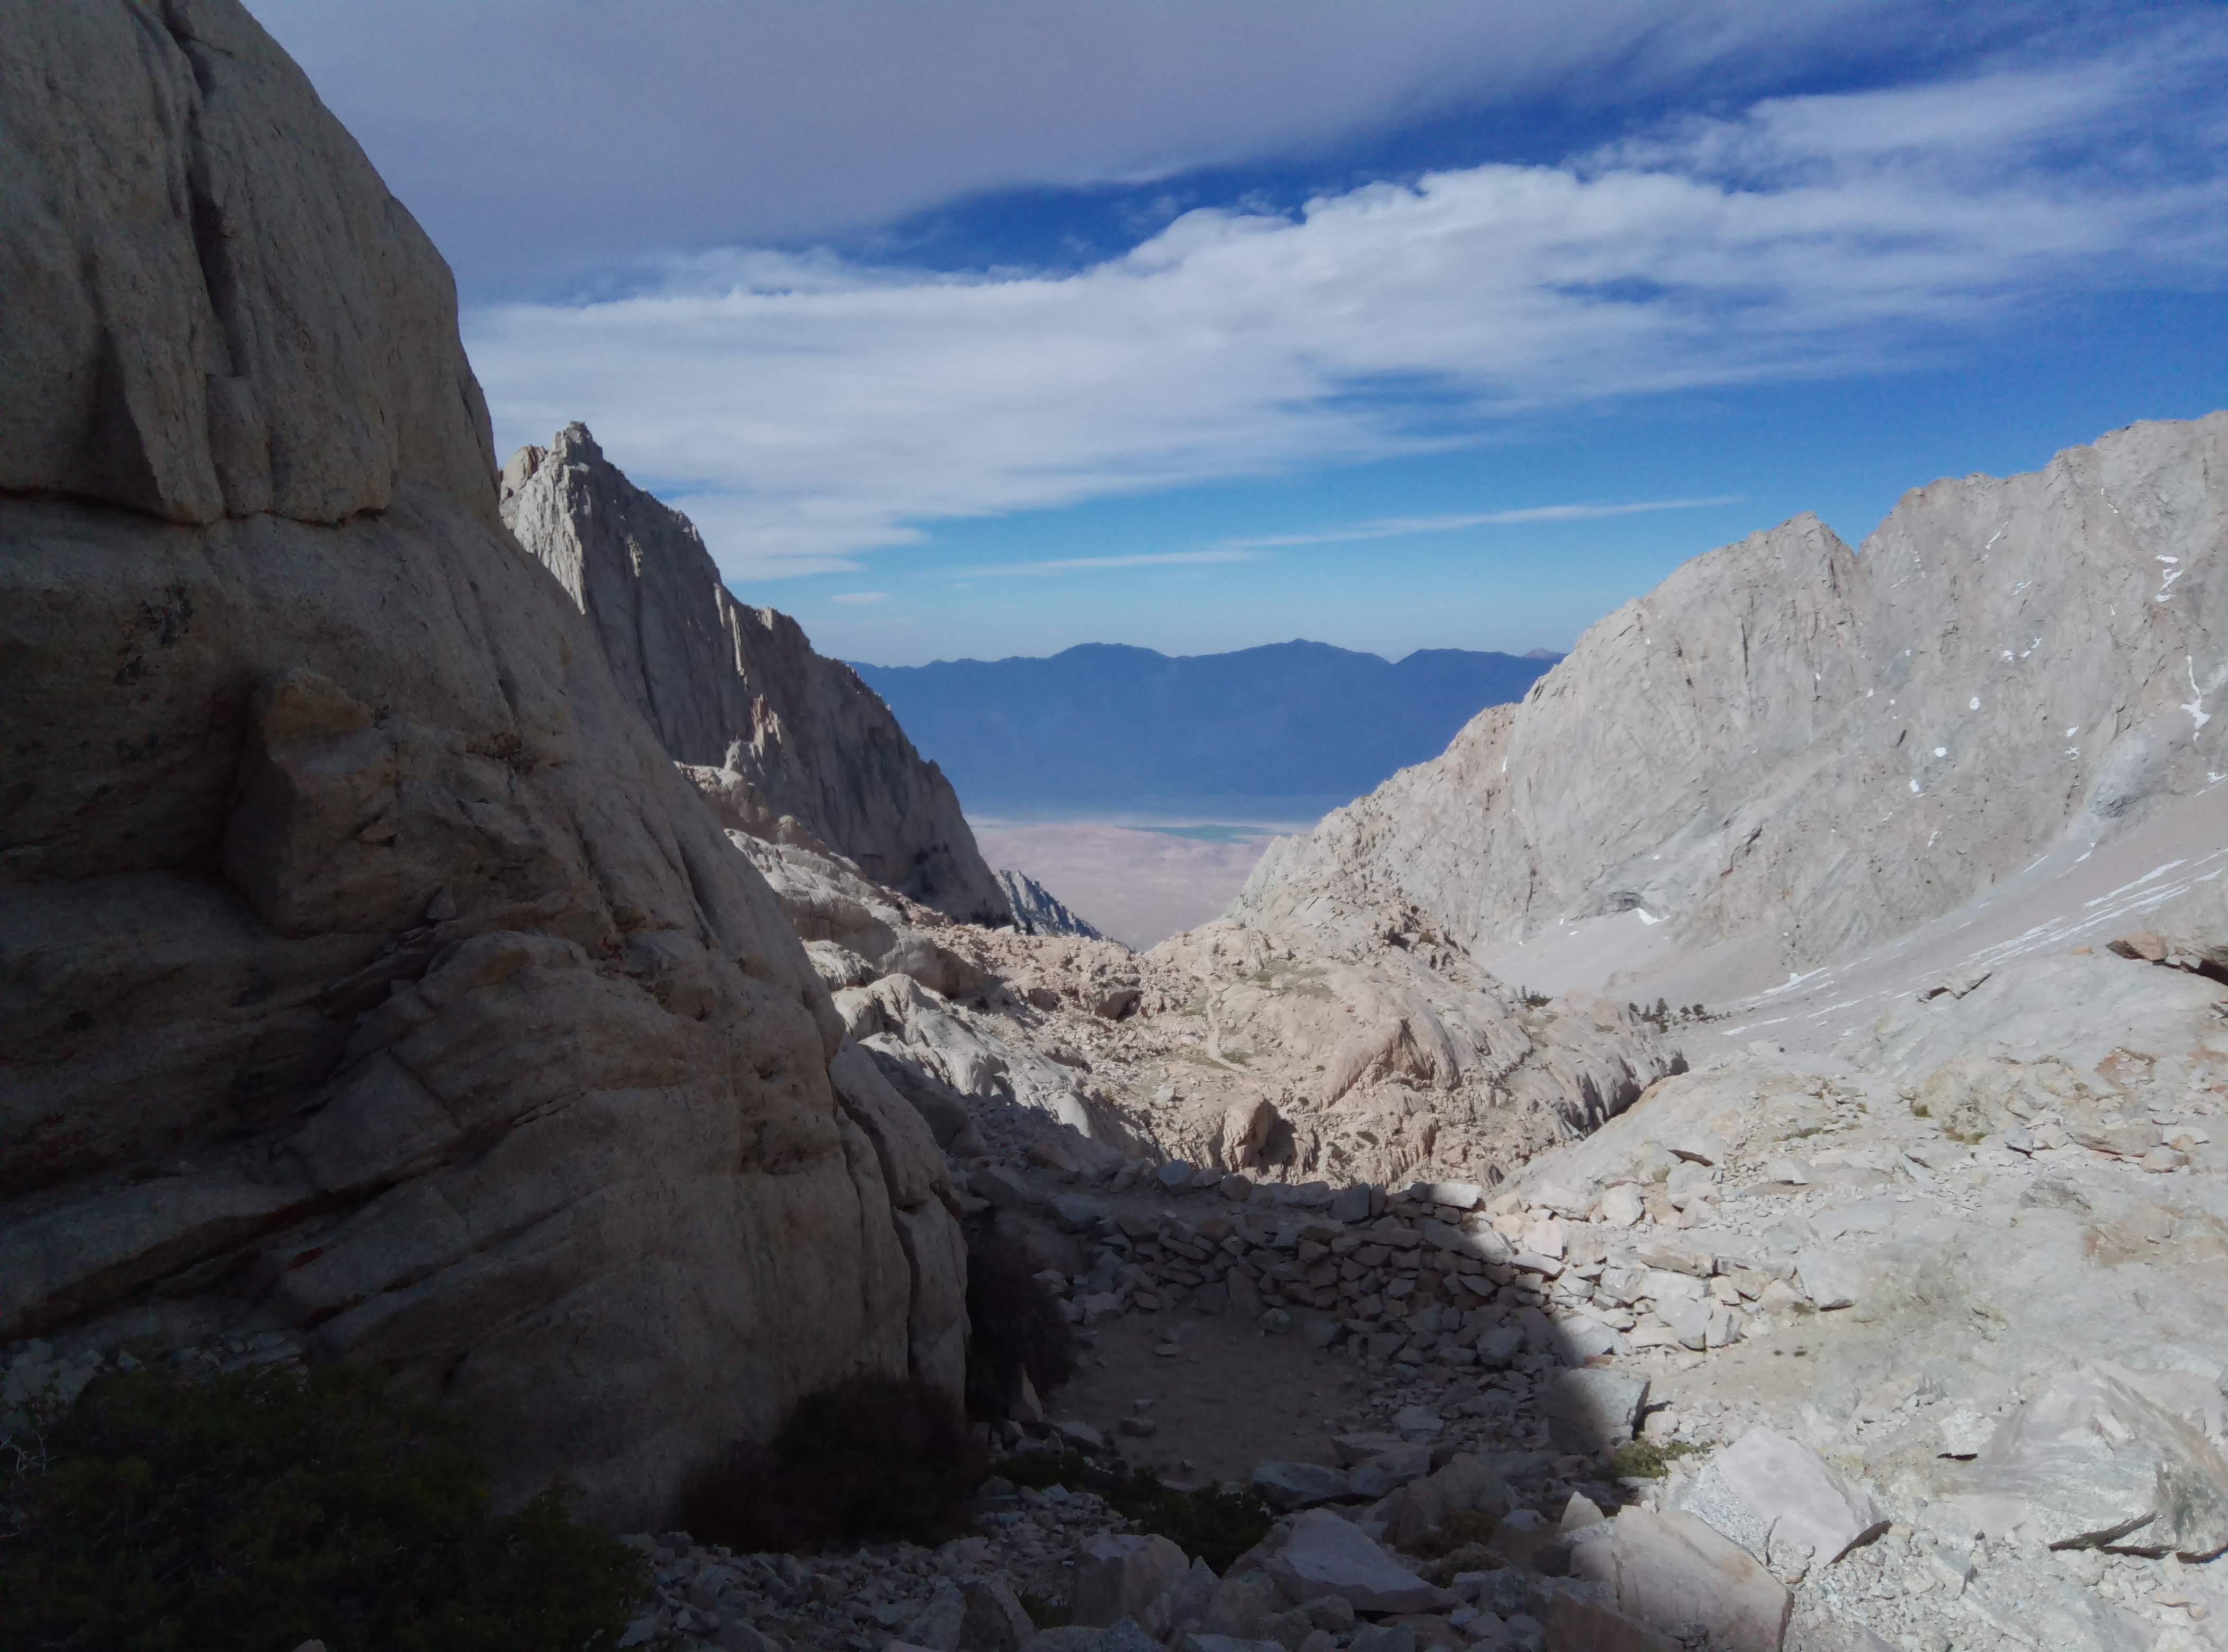
Whitney portal
I was pleased to see the nature in the Portal I didn’t see in the night though.
2008 Back to the trail head
Reached the trail head at 2008, before it was dark and was happy to find my car intact and sound. I strongly recommend reading this trailhead sign before you get in trouble.
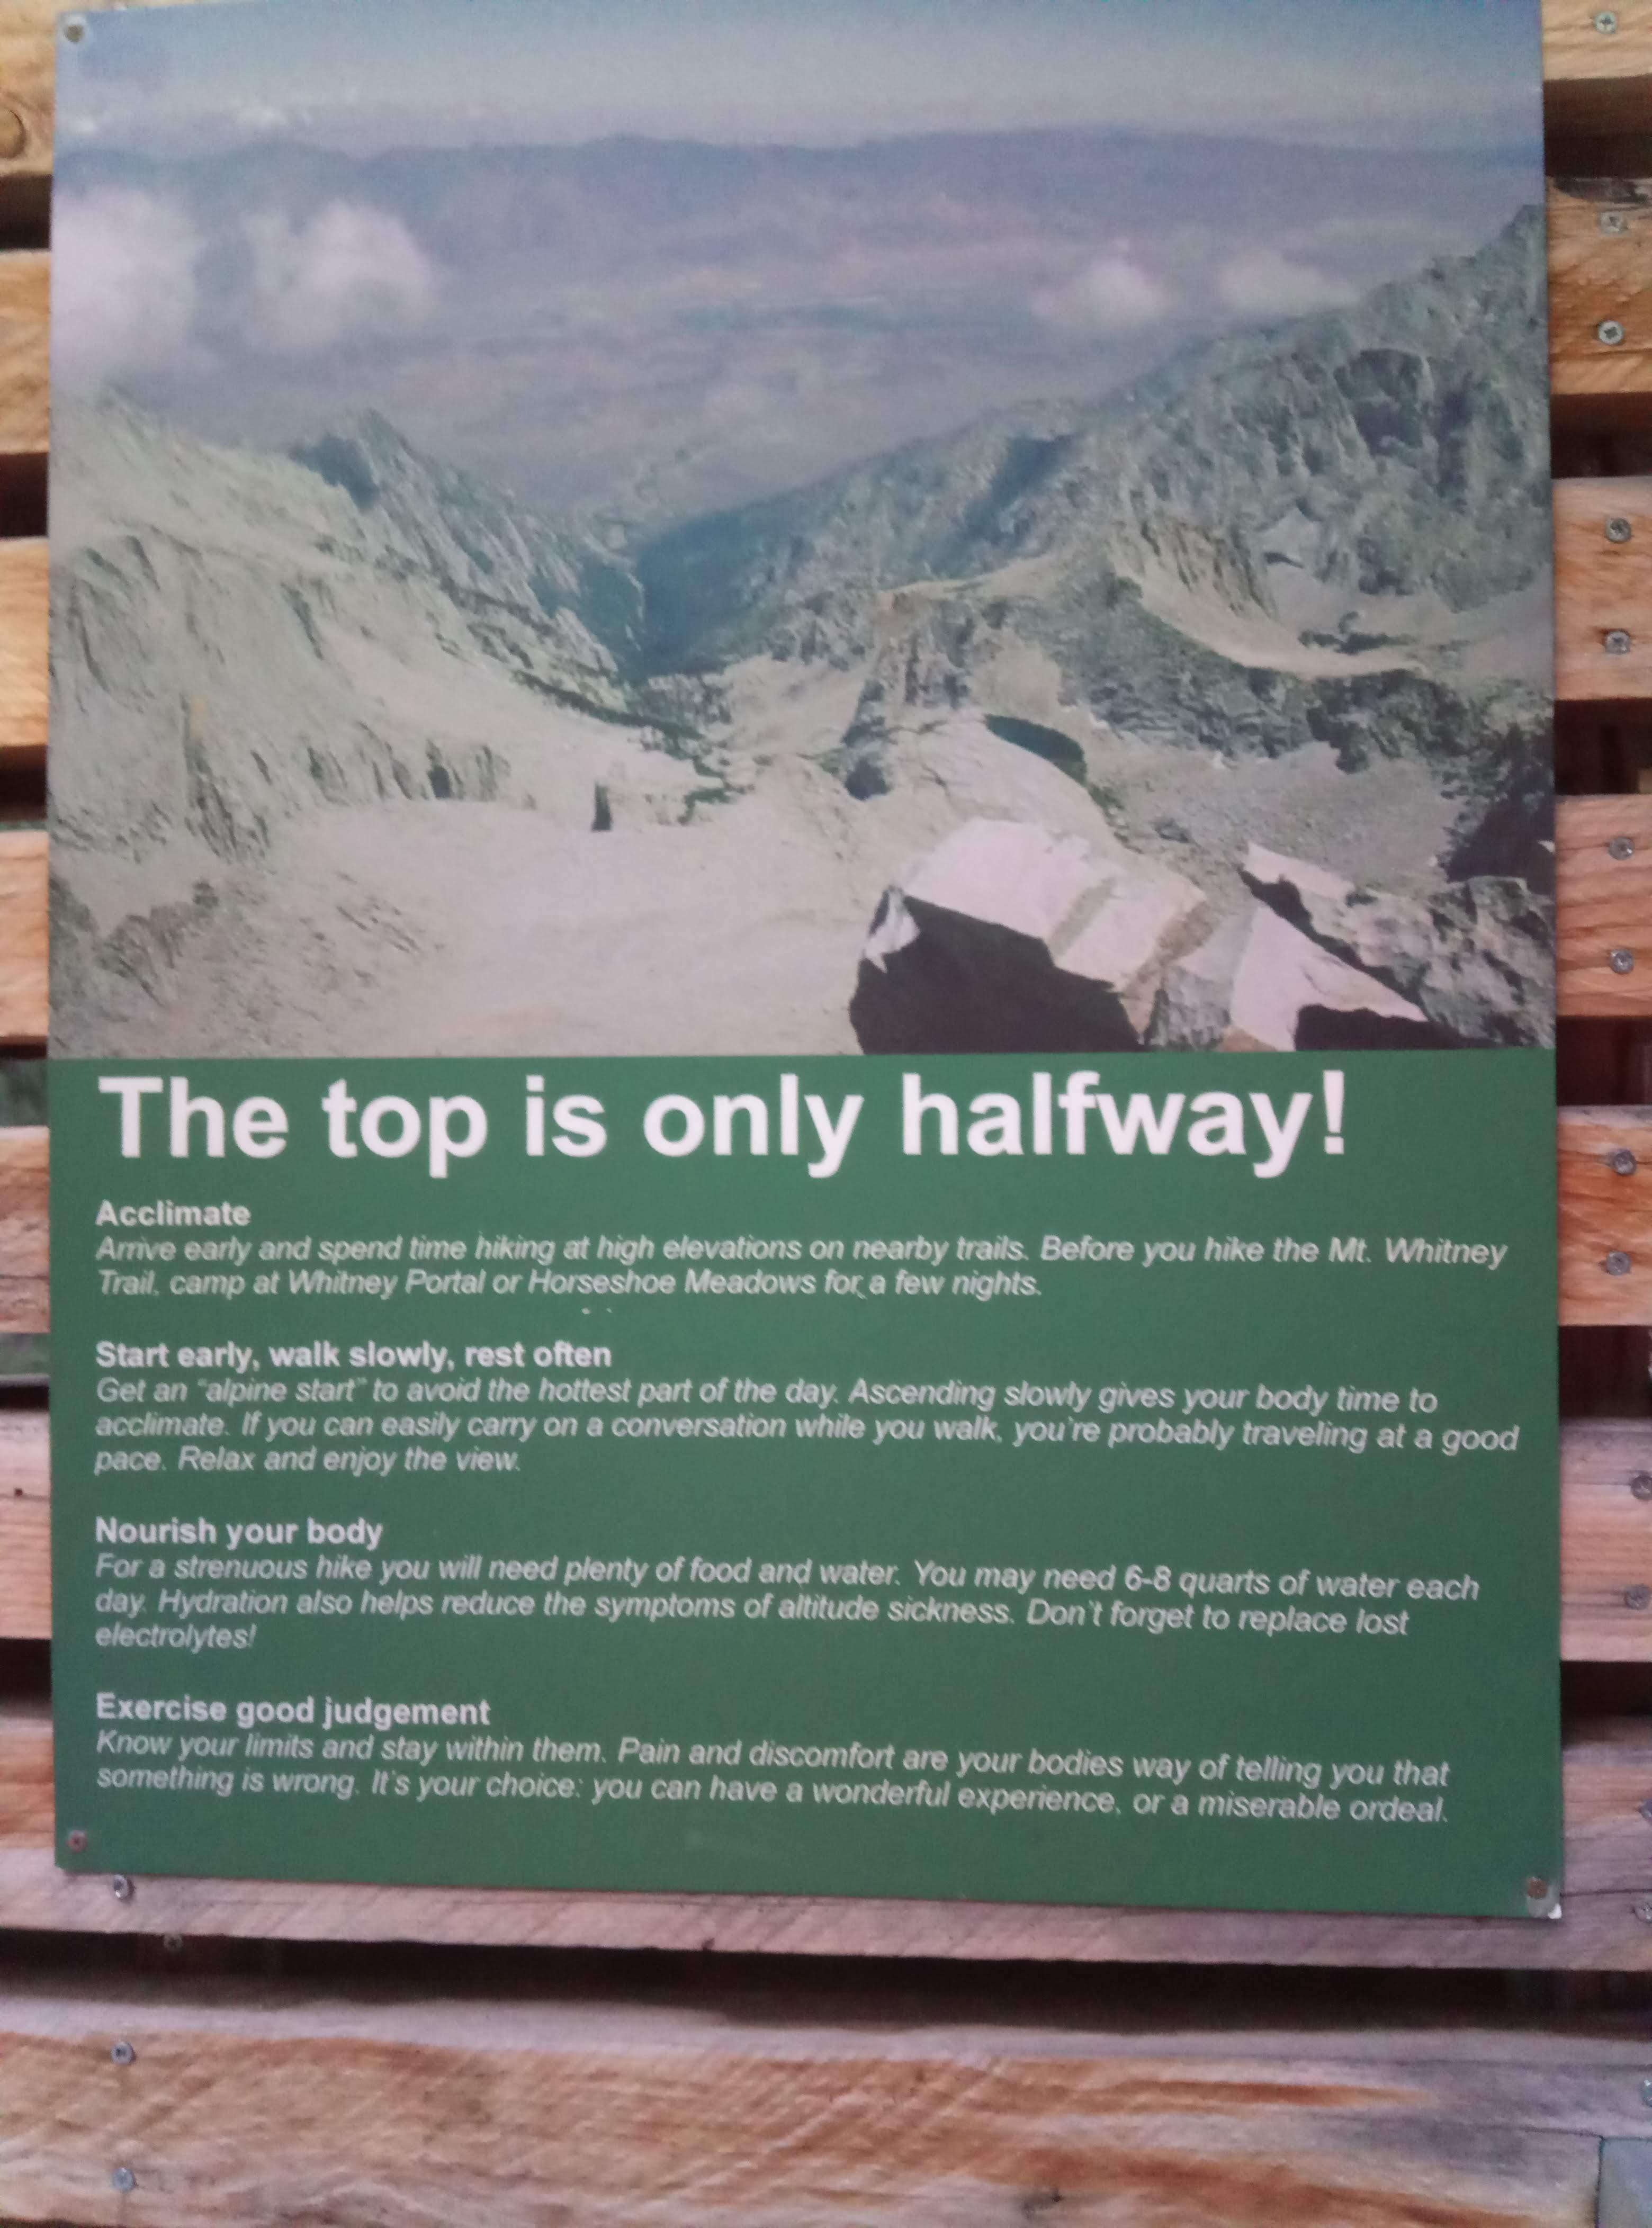
Trailhead
25 minute drive to mt. Whitney portal store and hostel, and this was it. Once again confirmed the world is a very tiny place when met my boss from a previous company. He and his friends were doing Whitney as well, were able to summit earlier than me after spending the night in Trail Camp.
Next day decided to visit the lowest point in contiguous US, it’s less than 200 miles drive from Lone Pine.
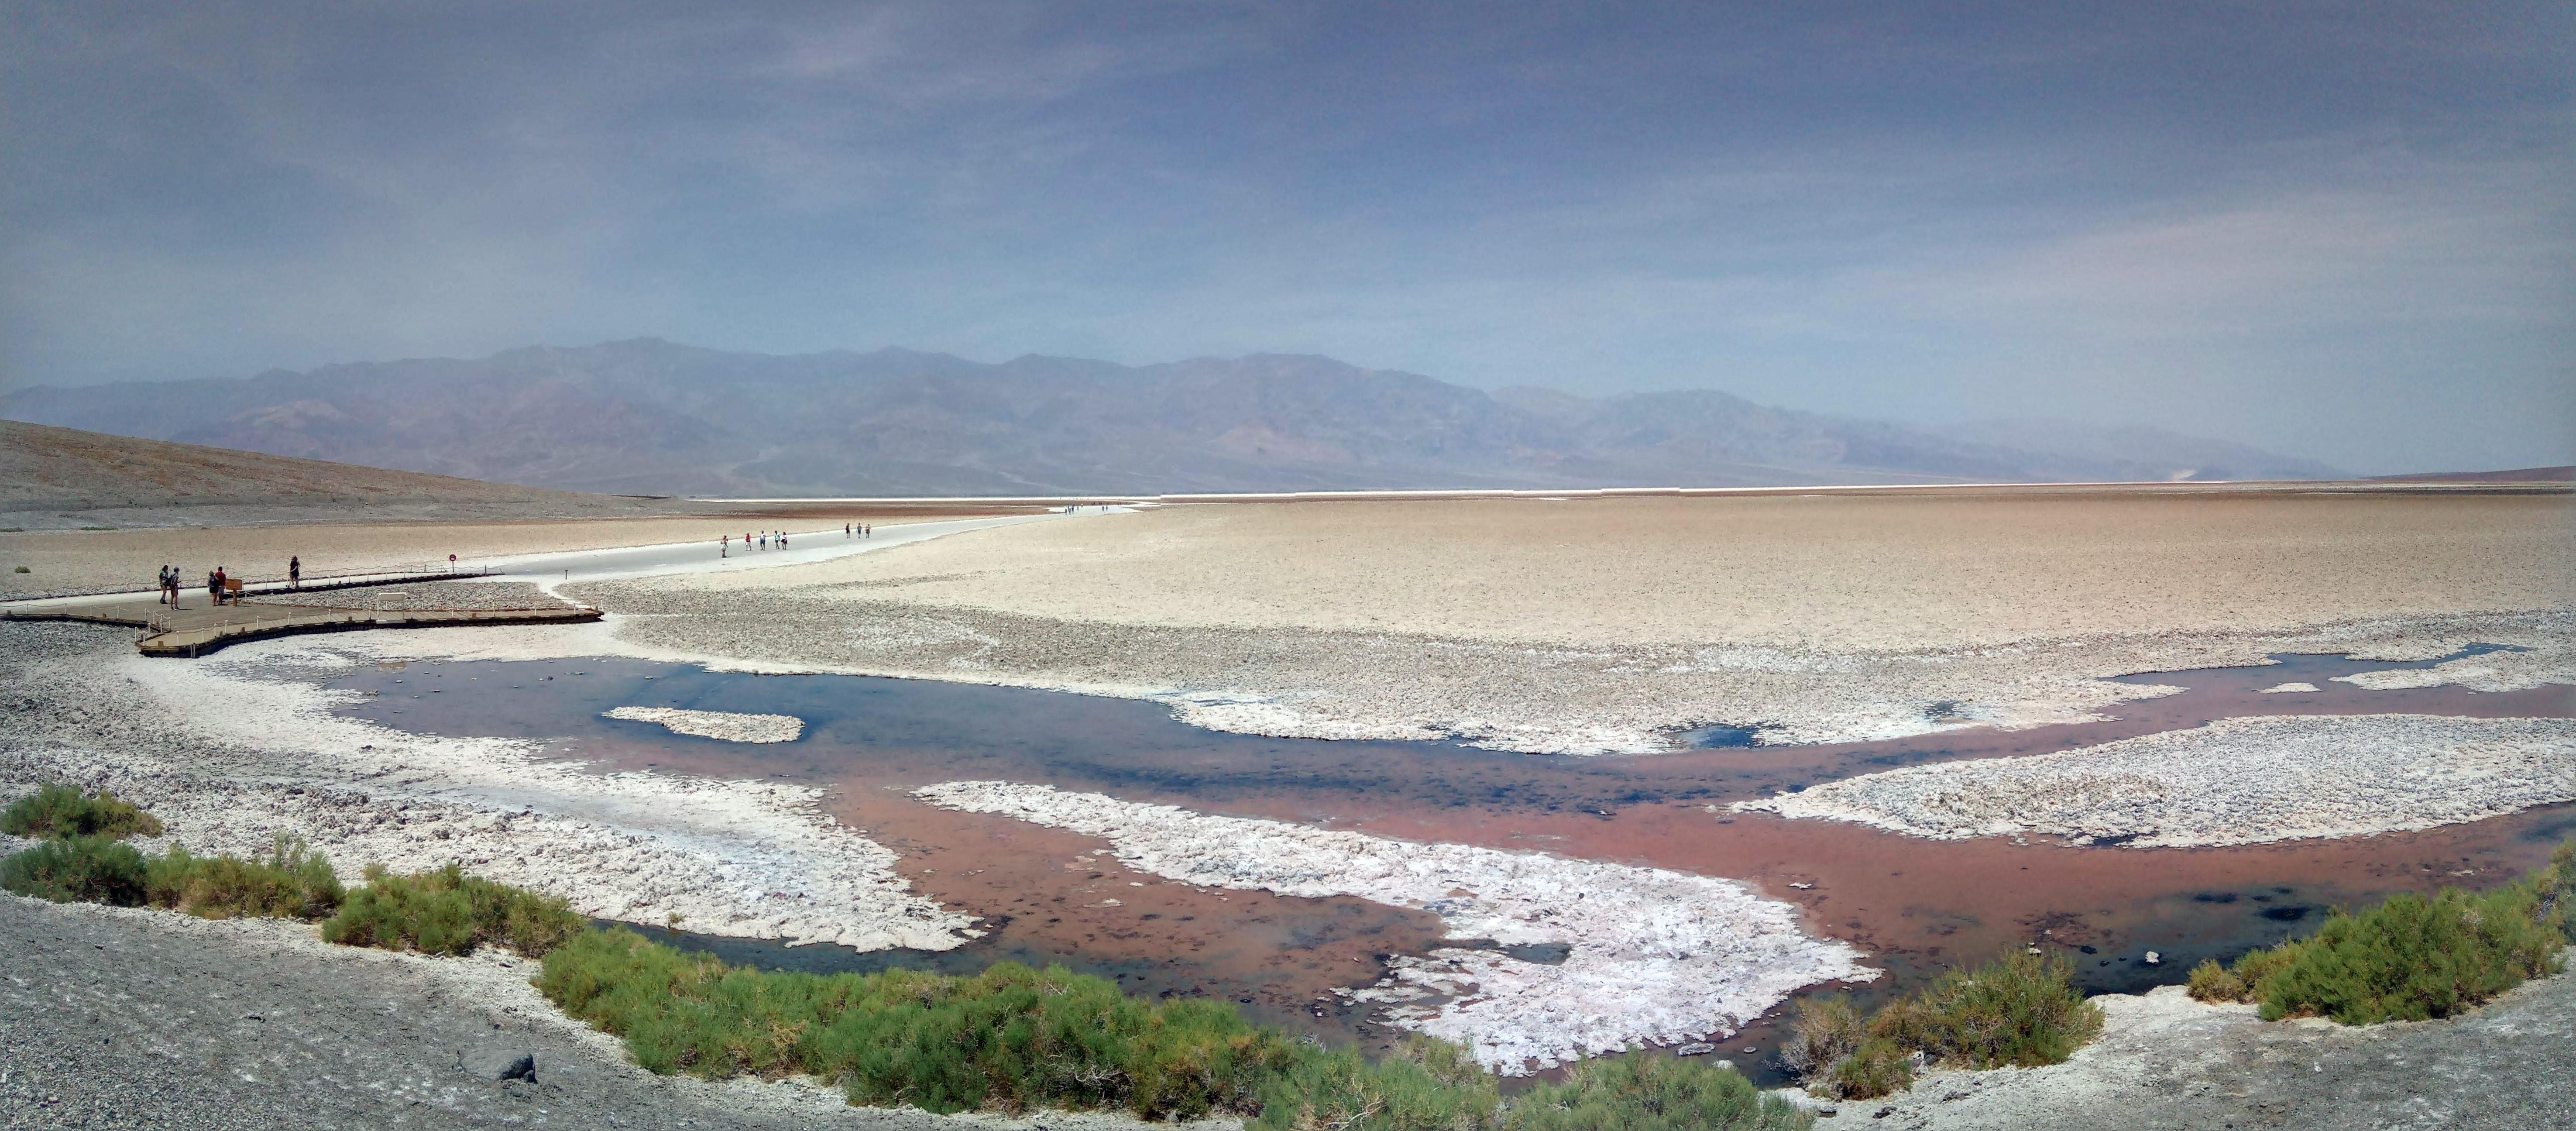
Badwater basin
Notes on altitude sickness
How much altitude sickness affects you depends on multiple factors - altitude you’re acclimatized to before starting the climb, individual susceptibility, how well you’re hydrated and so on. Prior to attempting one day Whitney hike you should know at least approximately how your organizm reacts to the decreased air pressure so you can abort the mission before your condition deteriorates significantly. Researching the matter I was not able to find any evidence of a strong corellation between fitness levels and susceptibility - even if you are very fit you may not be able to finish the hike due to AS. There are people who suffer from dizziness and hadaches ascending as little as 1500 meters.
AS symptoms: loss of appetite and/or thirst, nausea or vomiting, excessive flatulation, fatigue or weakness, headache with or without dizziness or lightheadedness, insomnia, peripheral edema (swelling of hands, feet, and face), nose bleeding, shortness of breath upon exertion, persistent rapid pulse.
There is it appears some corellation between dehydratation and AS. You lose moisture much faster at the higher altitude. This is why it is so important to stay properly hydrated. Have plenty of water and drink whenever you’re thirsty and from time to time even if you are not - the organism is confused and you can’t completely rely on thirst signals it sends to you. I took a sip every 15 minutes or so. If you drink too much the excess water will be excreted, not a big deal if you add enough electrolytes to the water you consume to keep the balance. You don’t want to allow sodium concentration drop, the condition known as Hyponatremia. Check instructions for the particular product for suggested concentrations. Note electrolyte tablets can clog a filter in your hydration system if there is a filter - check beforehand.
Usually it takes several hours for altitude sickness to develop. This is why you should climb high and sleep low - you can’t monitor your condition while asleep and you will not get any rest trying to sleep with altitude sickness. This is another reason why you don’t want to be too high for too long. I was trying to ‘outrun’ altitude sickness and, generally speaking, succeeded. If I had to spend more time on the summit because of some delay on a trail or whatnot I would feel way worse on the way down.
According to wikipedia article Acetaminophen and Ibuprofen can be used to reduce symptoms of minor altitude sickness to some extent.
Solo vs group
Soloing mt. Whitney in one day was not a good idea - I did it, I regret the decision and I certainly do not recommend repeating this feat to anyone. There are plenty of people on the trail, making you vulnerable to the Bystander effect further fortified by the harsh environment conditions and exhaustion. You can’t make other people to risk their lives because of your recklessness, especially if they don’t have proper training and equipment. If you have a problem it make take hours for people to report the situation to SAR/911. If it is afternoon already chances are you’ll have to wait until the dawn for any assistance.
Ability to communicate with the Base camp/other members of the team is vital. This is why you absolutely have to have VHF/UHF radios in your group and make sure every member of the group is able to operate them. Note you can’t rely solely on the radio communications above the Trail Camp - you will not be able to receive signals from the other side of the ridge and from places shadowed by terrain features. You should never separate above the Trail Camp because of this. I met two groups separated on the way back - a guy was waiting on the trail crest for his friend still descending via ridge part of the trail (met them afterwards near Outpost Camp, both were fine). Couple of folks were waiting for their friend to glissade down the Chute - both damp and cold. Eventually the group decided to descend to Trail camp and either find the missing hiker there or call 911. The guy was waiting in the Trail camp. Lessons learned - you should not separate above Trail camp, if you do separate you need to know both exact place and time where you meet again and the plan how to proceed if someone is still missing.
I hope you’ve enjoyed the report and going to make only your mistakes instead of repeating mine. See you on the trail!